Users have the ability to personalise the colours and designs of different components in their campaign through theme settings. Each module may possess distinct yet closely related theme settings.
Step 1: Set up the colours or images of the theme. Kindly refer to the RED box or area.
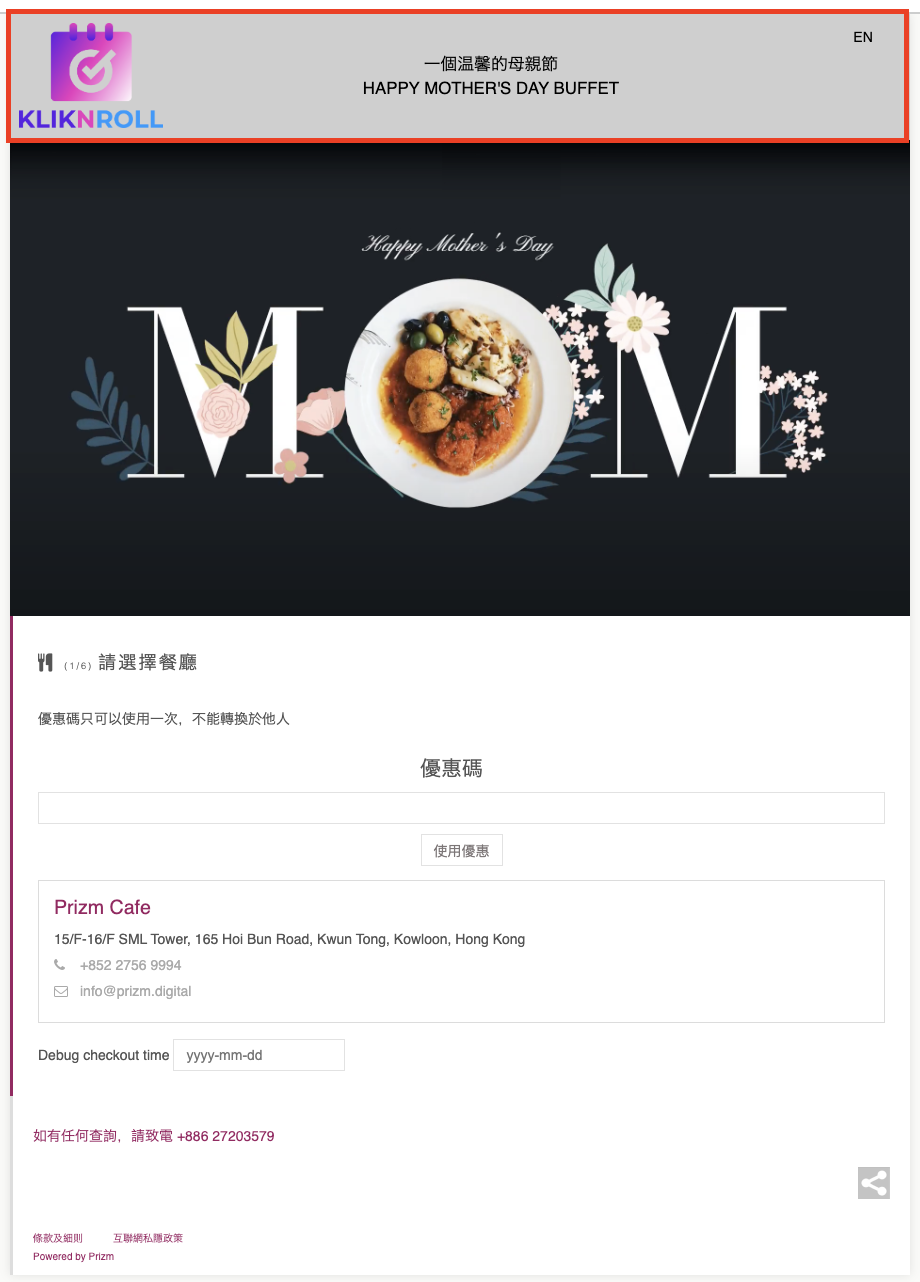
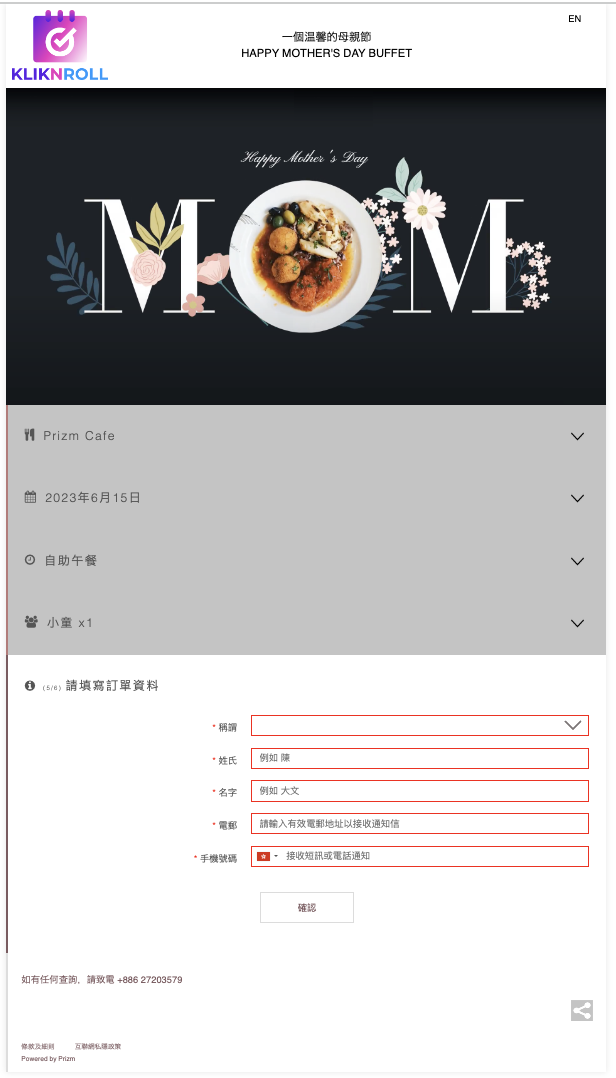
- Header Image
Hint: The header image will replace the header banner and overlap it. You need to change the header image for all languages.
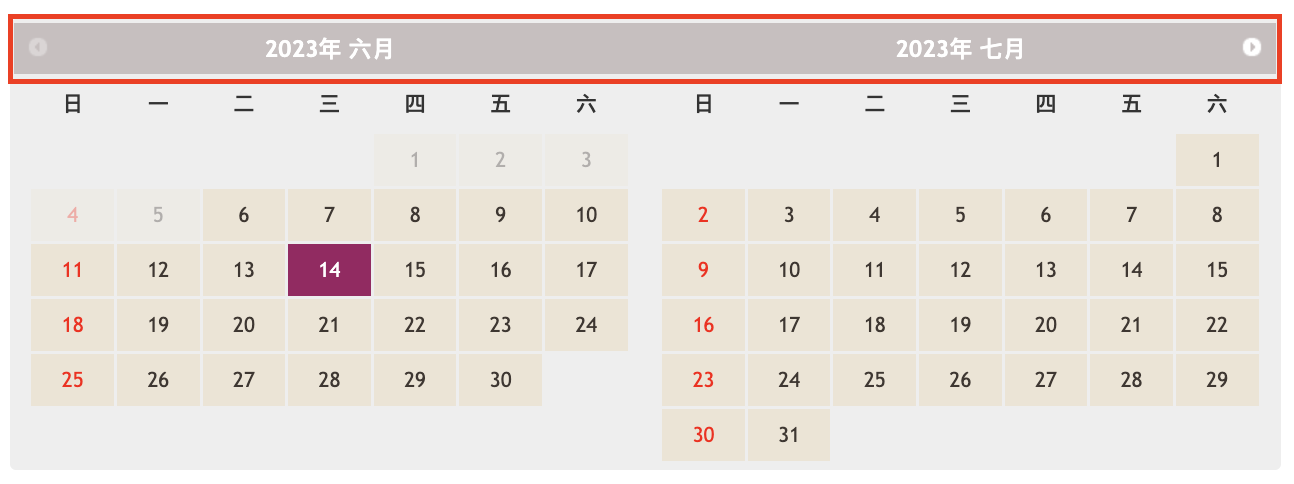
- Header Background Colour
Hint: The header background colour setting will modify the header of the calendar and date-picker as well.
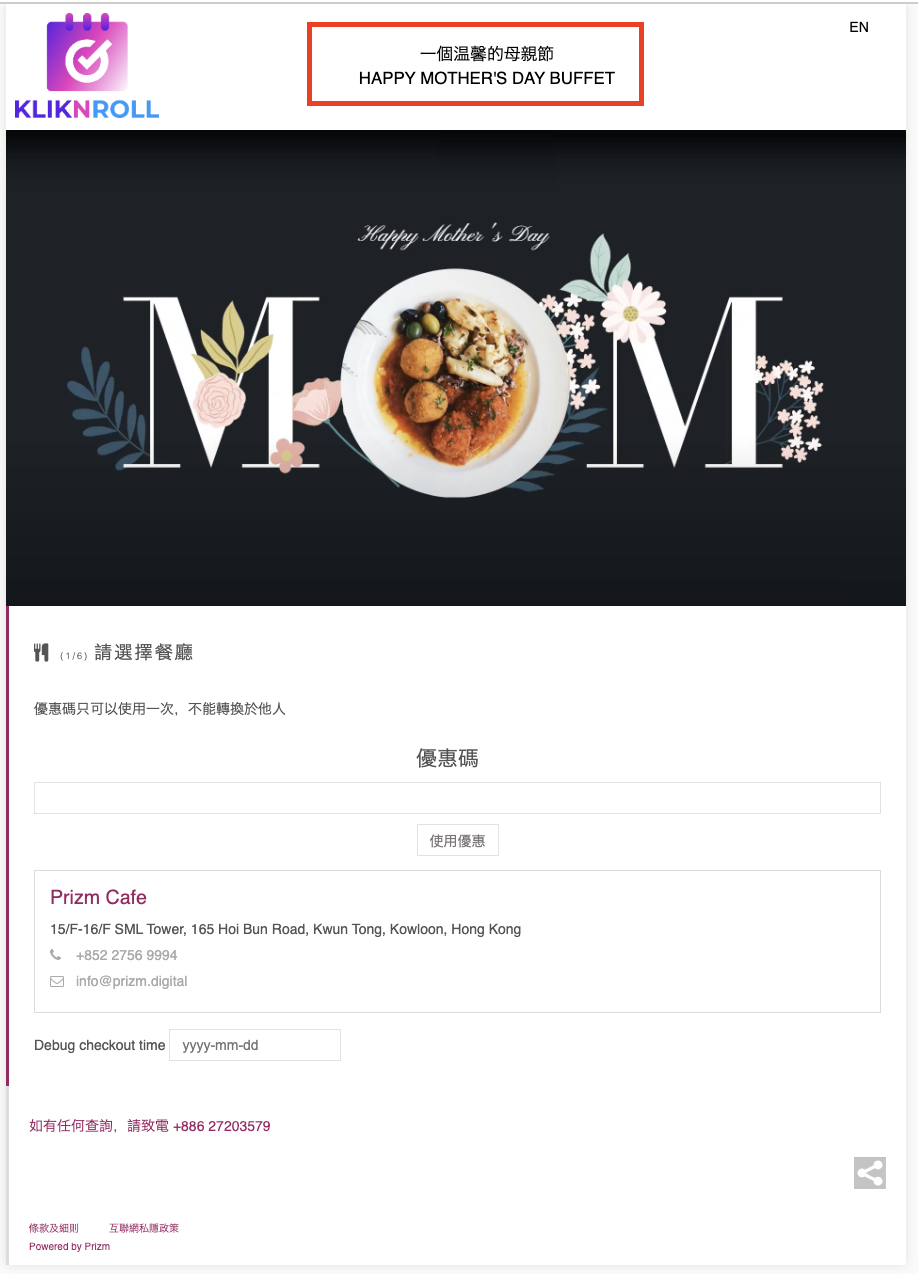
- Header Font Colour
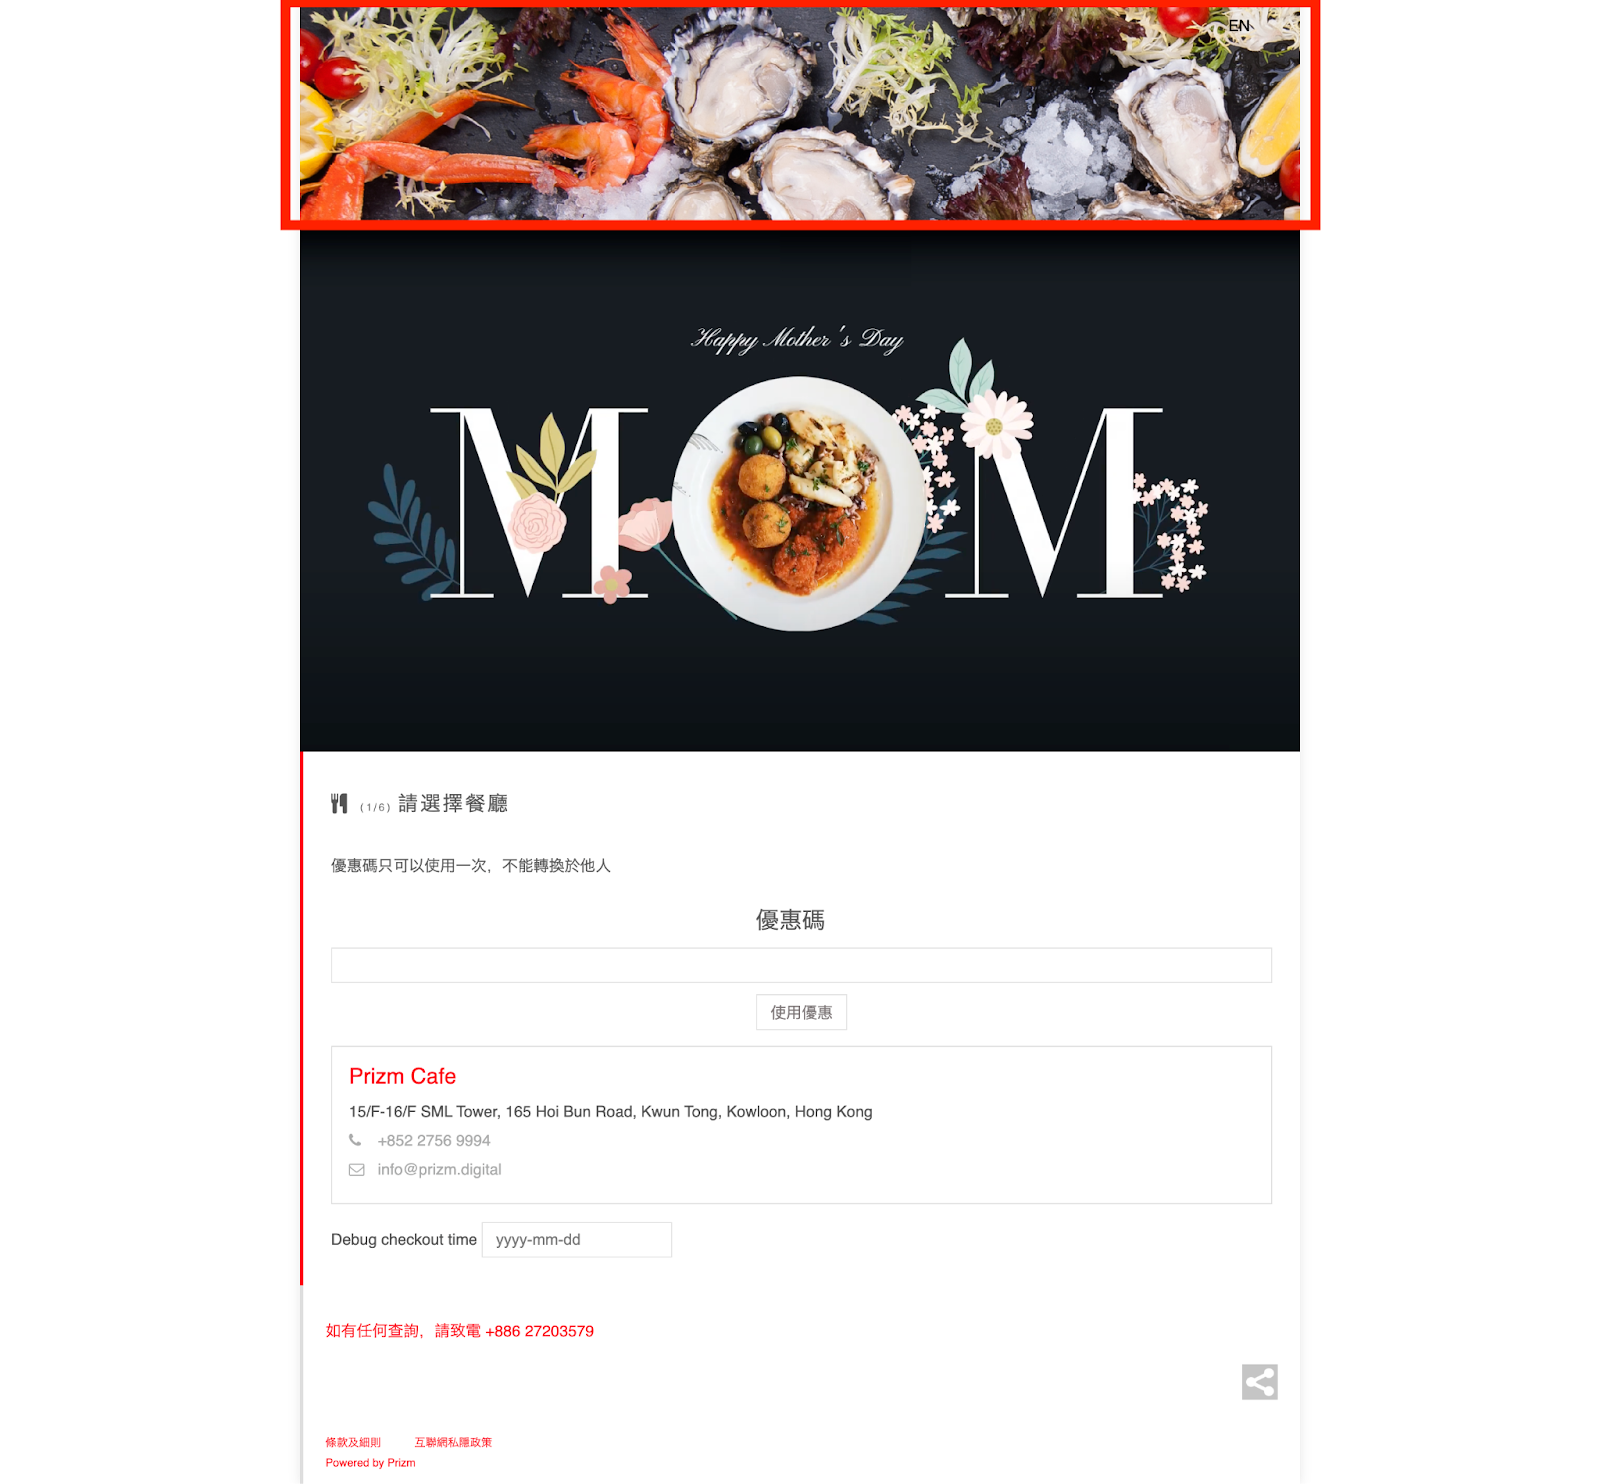
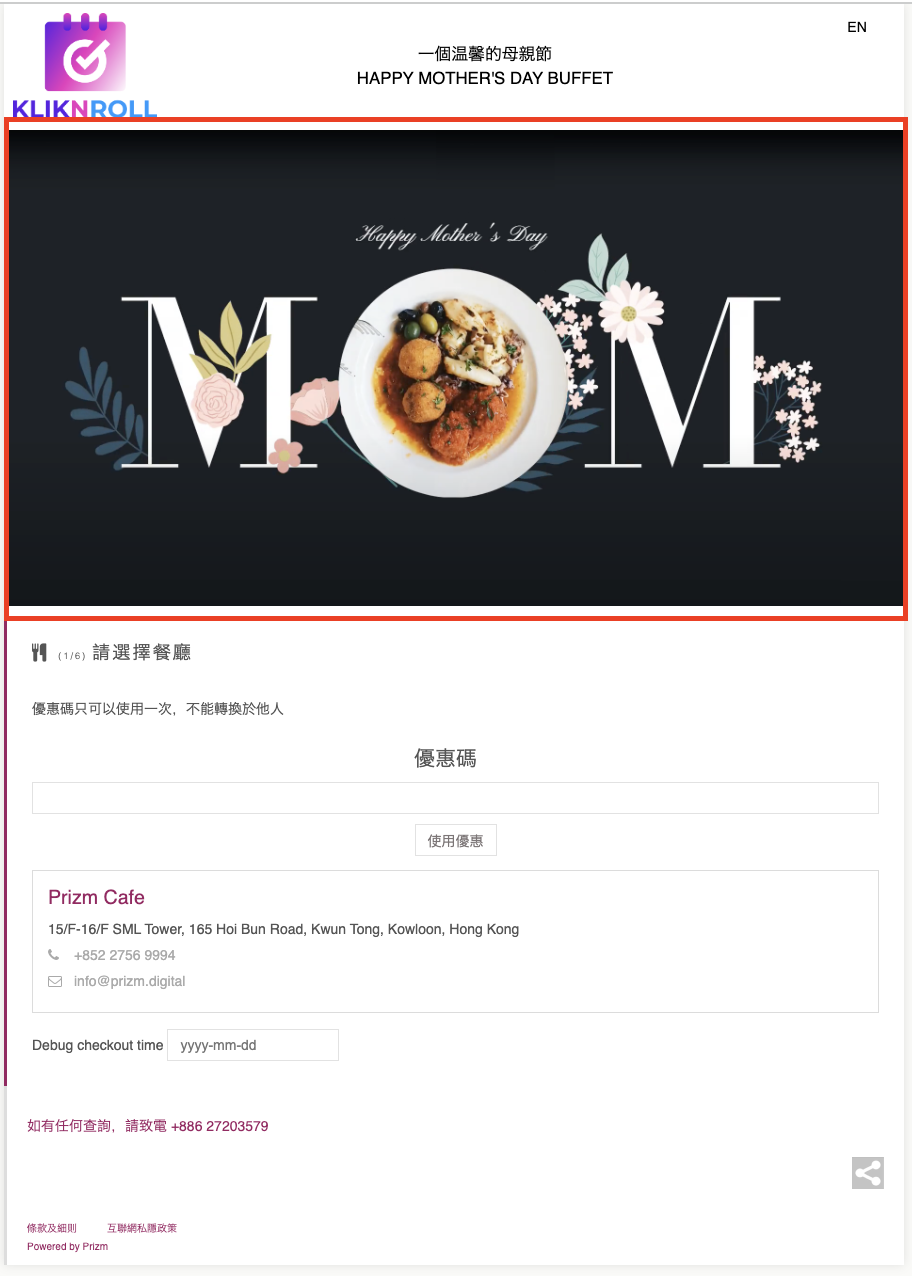
- Banner Image
Hint: You need to change the banner image for all languages.
- Body Background Colour
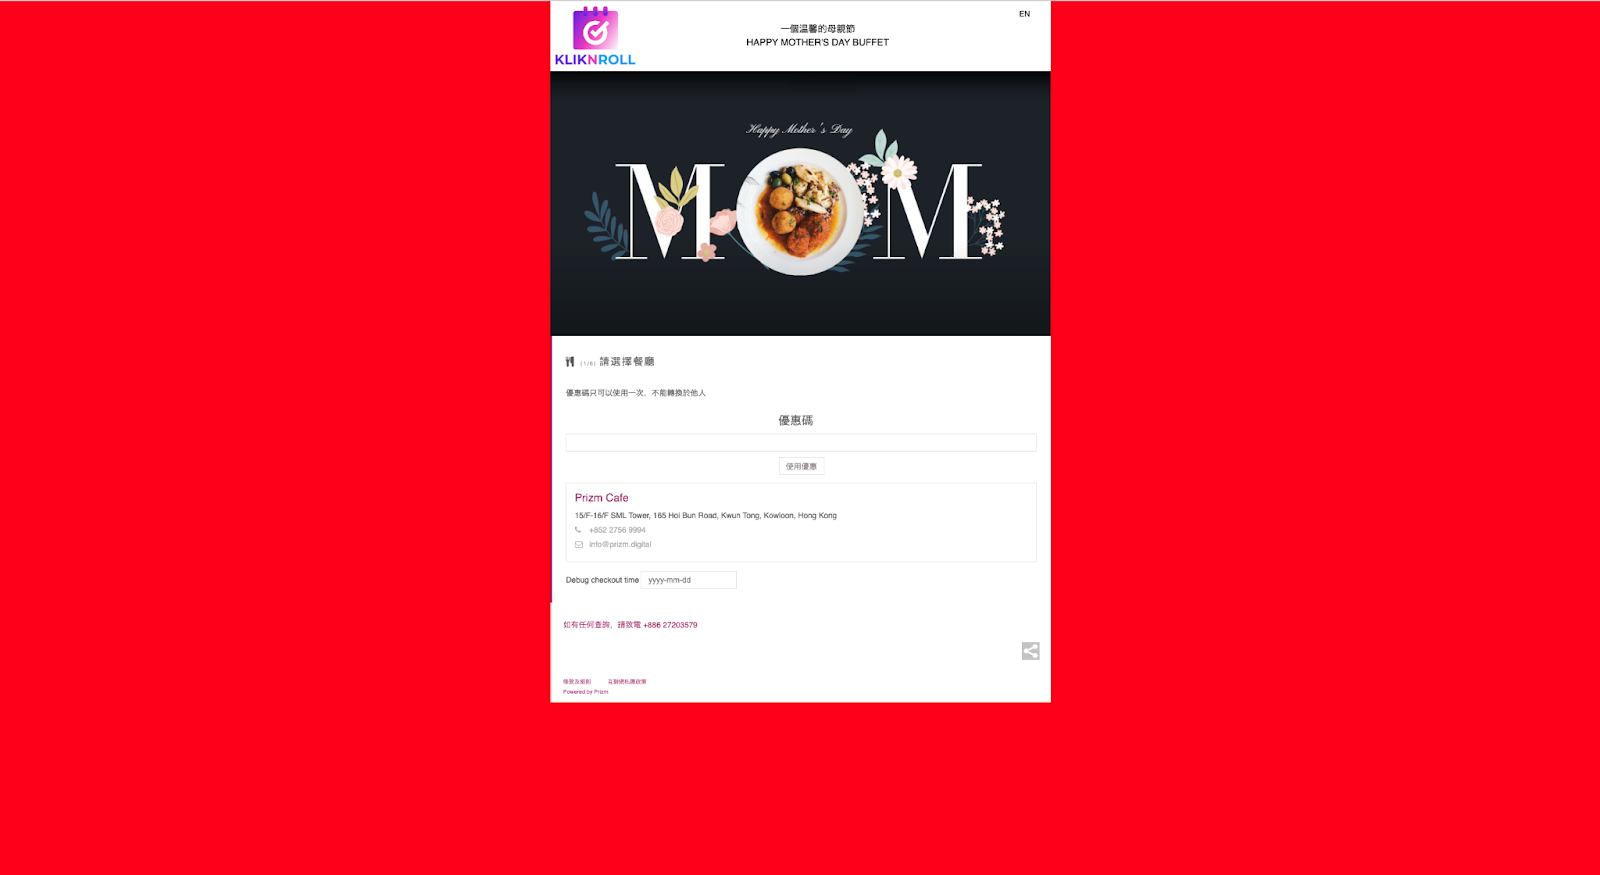
- Body Font Colour
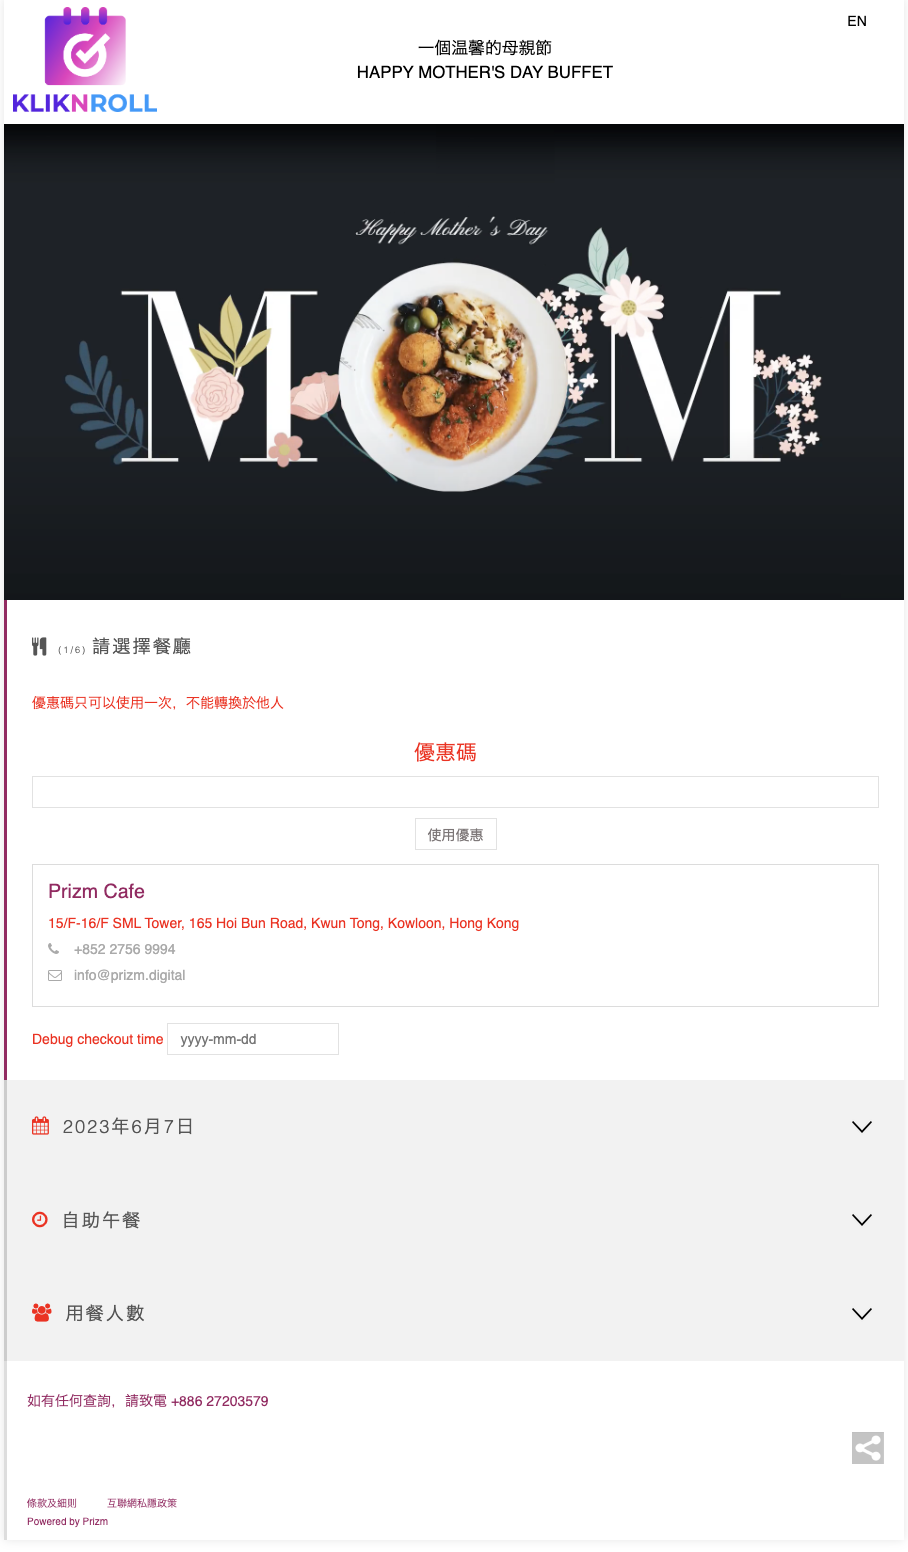
- Theme Main Colour
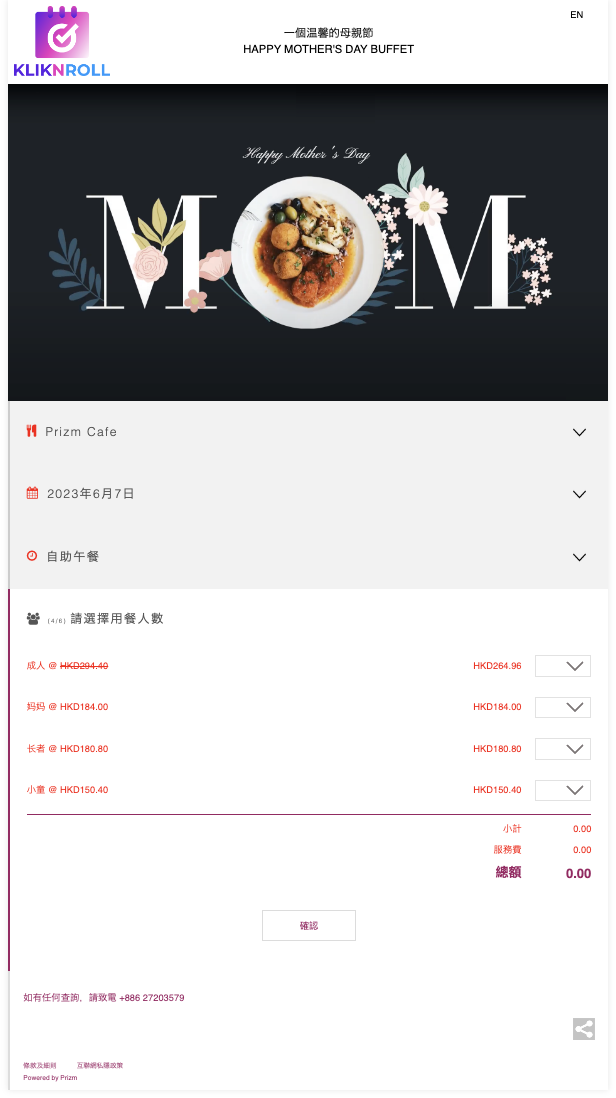
- Section Active Background Colour
- Section Inactive Background Colour

- Section Inactive Border Colour

- Input Border Colour


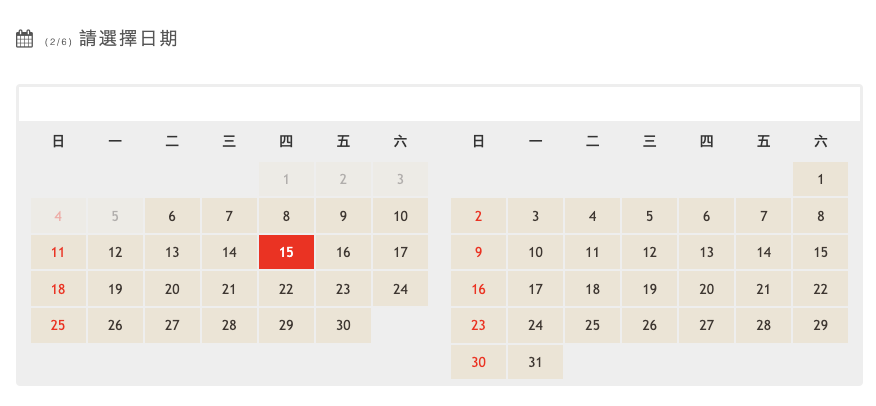
- Datepicker Background Colour

- Datepicker Selected Date Colour
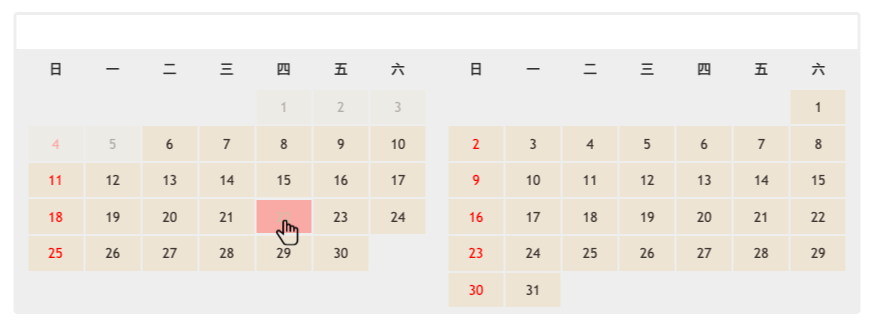
- Datepicker Hover Date Colour
Step 2: Fill in Custom Css if applicable.
- Custom Css: Custom CSS refers to the practice of creating personalised styles for websites by overriding or extending default styles. It allows developers to customise various aspects of a webpage’s appearance, such as colours, fonts, spacing, and positioning, by targeting specific HTML elements or classes.

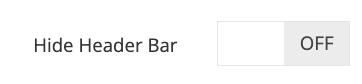
Step 3: To hide the header bar in the campaign interface and confirmation email, simply enable the “Hide Header Bar” option by toggle it to “ON”.
Step 4: Click on the “Save” button to save your theme settings.