By adding users to a user group, you can assign varying access rights to different users within the group. This functionality is especially useful for businesses’ with different branches. It allows for the allocation of specific access rights to various managers across different branches.
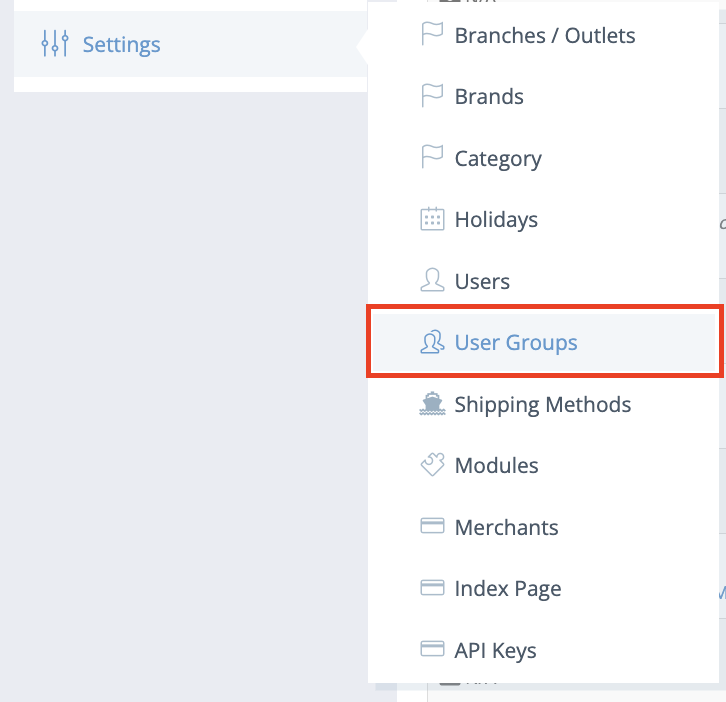
Step 1: Navigate to the Settings menu and click “User Group”.
Step 2: Click on the “+Add” button located at the top right corner to create a new user group.
Step 3: Fill in the details of the user group.
Required Fields:
- Name: Enter the name of the user group, such as the name of the restaurant or branch.
- Title: Provide the title or role associated with the user group, for example, “Managers” or any other relevant designation.
Optional Fields:
- Description: Add any additional information or description about the user group, if applicable.
- Sort order: Determine the order in which this user group will appear in the backend system.

Example:
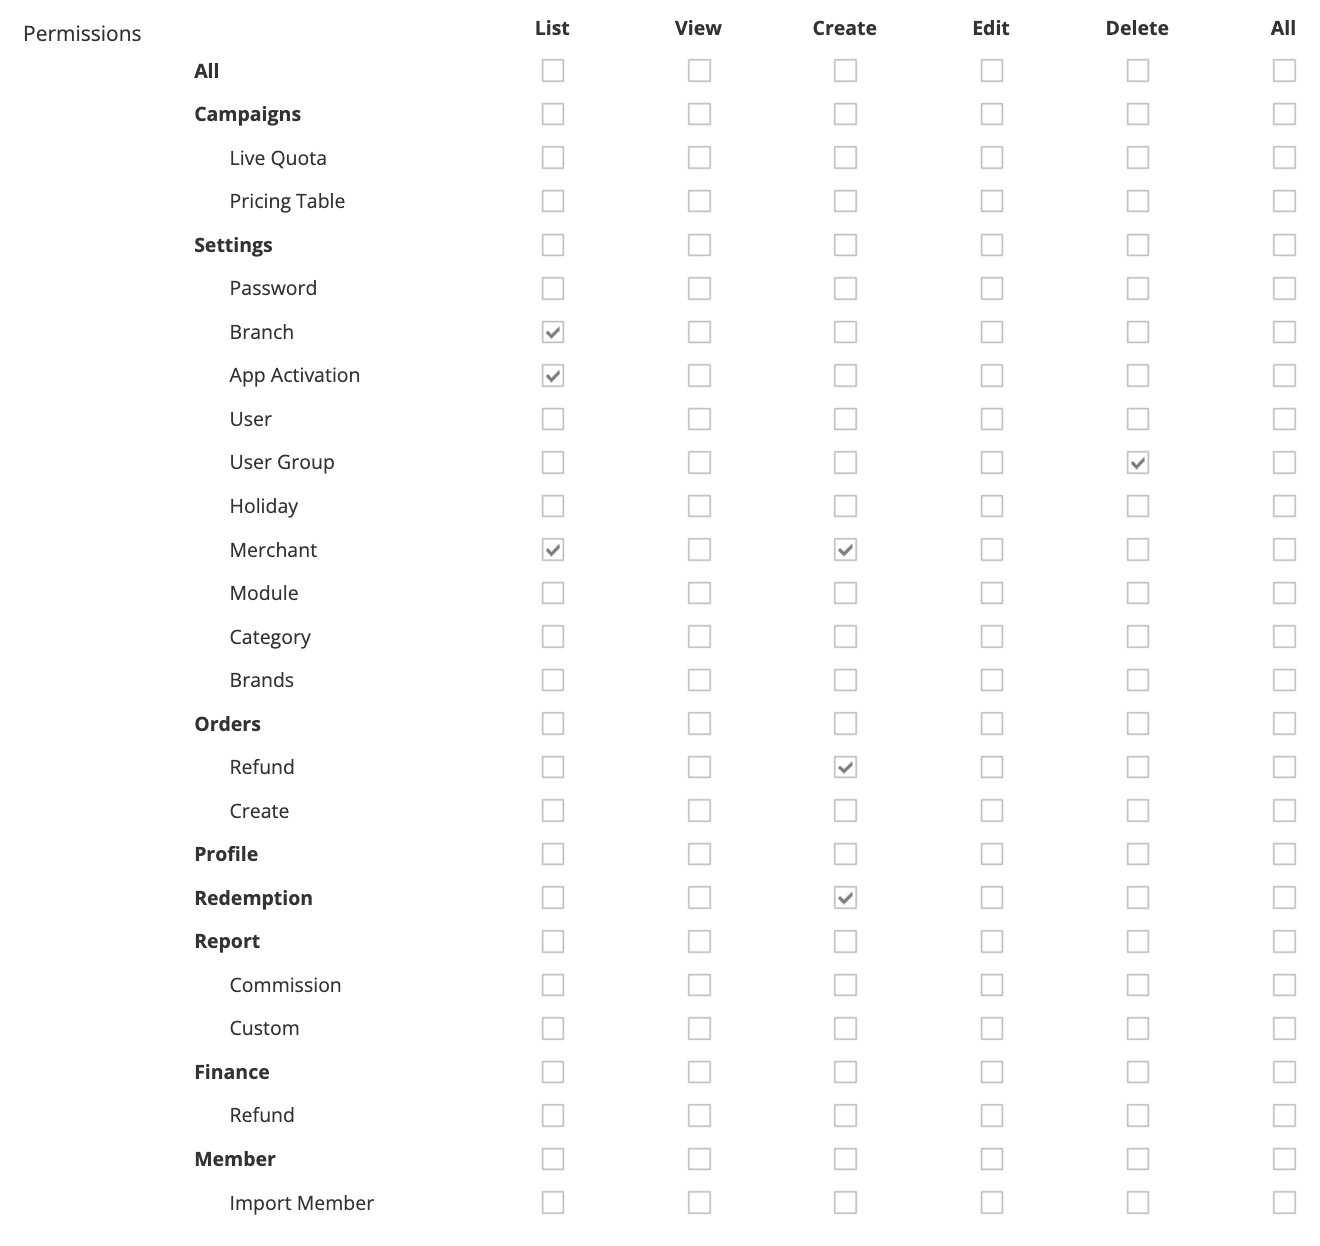
Step 4: Check the boxes to specify the sections that this User Group should have access to.
- List: Enables viewing the list of items.
- View: Permits viewing without editing privileges.
- Create: Enables the creation of new items.
- Edit: Grants permission to modify existing items.
- Delete: Allows the removal of existing items.
- All: Provides access to perform all of the above actions.
- Live Quota: The setting to control the availability of all products.
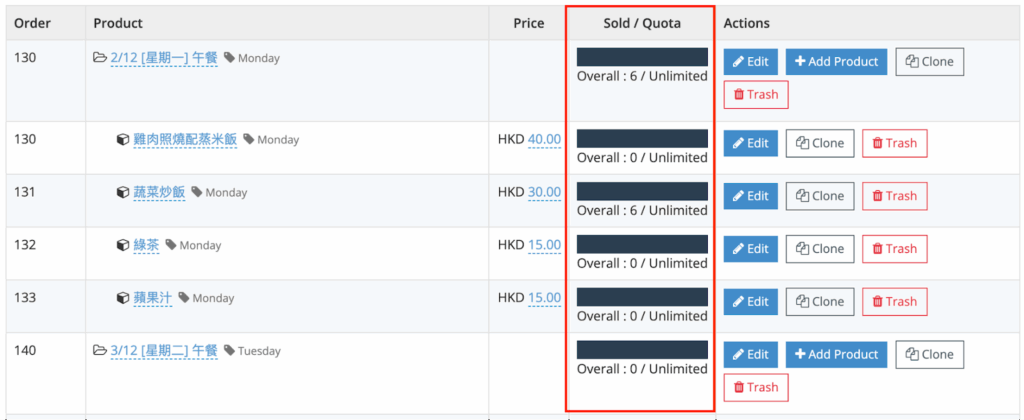
- Pricing Table: Access to the pricing table for a specific campaign.

- Password: The access of managing login password for each user account.
- Branch: The settings for each branch, including branch details, status, and availability, and more.
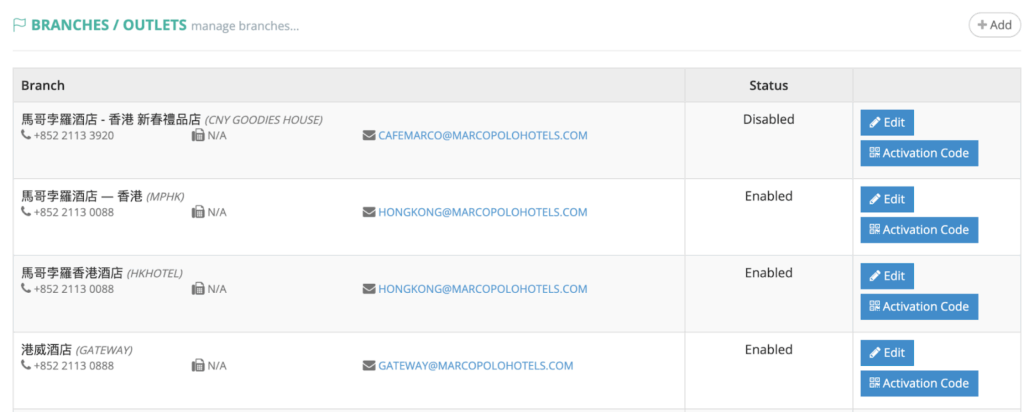
- App Activation: The activation of the branch QR code.

- User: The settings for each user, including user details, branch assignment, and access, and more.

- User Group: The user access permissions for each group.

- Holiday: The setting of off-time/closed dates for each branch.

- Merchant: The merchant settings in the admin panel, including merchant info, redemption settings, payment methods, and more.

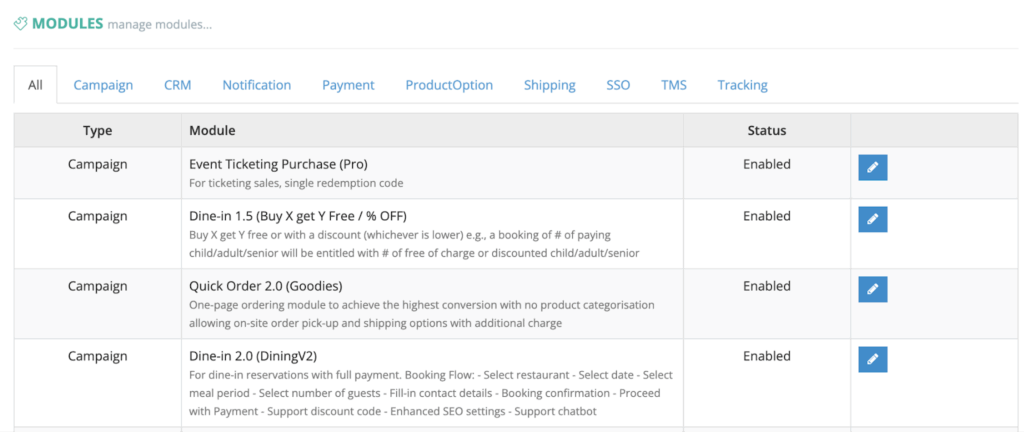
- Module: The settings for each module; note that each module has different configurations.
- Categories: The product category settings for each brand. Note that Category is different with product group.

- Brands: The brand setup for a single merchant.

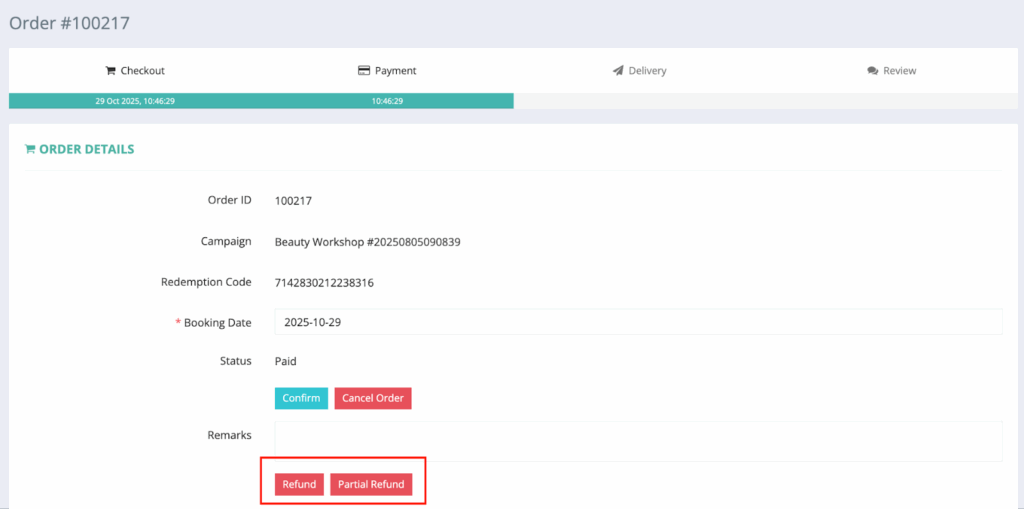
- Refund (Order): The refund settings for each order.
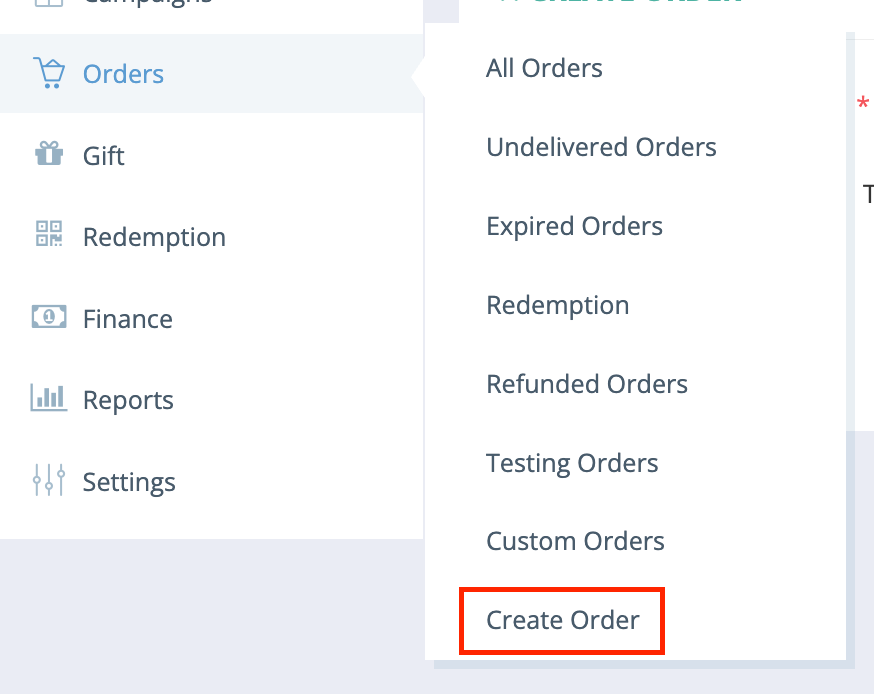
- Create: The access to create orders.
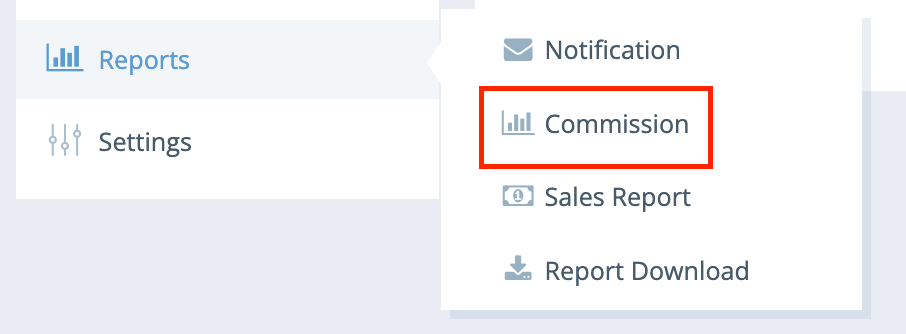
- Commission: The access to commission reports, including order details.
- Custom: The access to custom reports created for specific merchants; these appear only if configured.
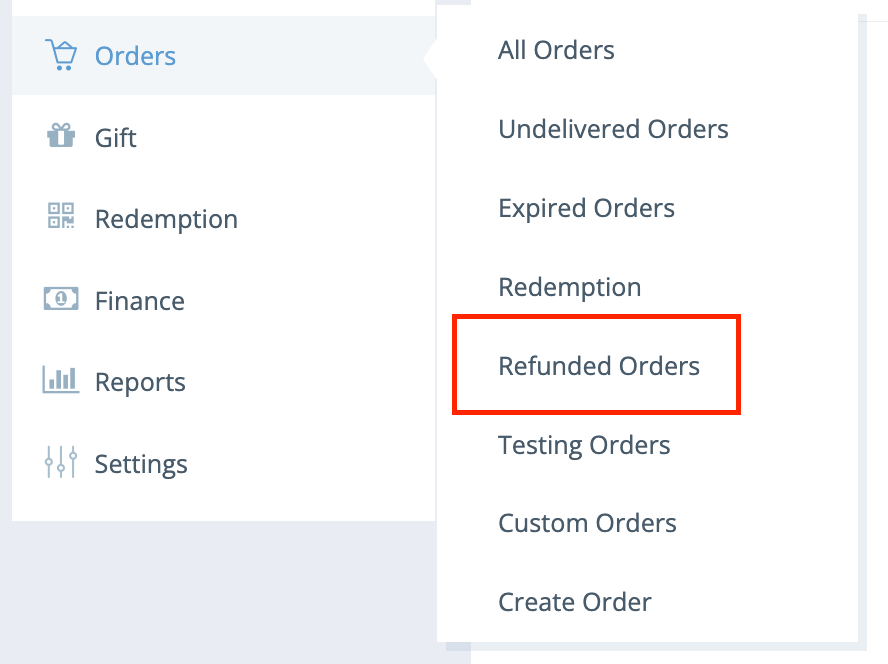
- Refund: The access to process refund orders.
- Import Member: The access to import new members into the system via CSV.
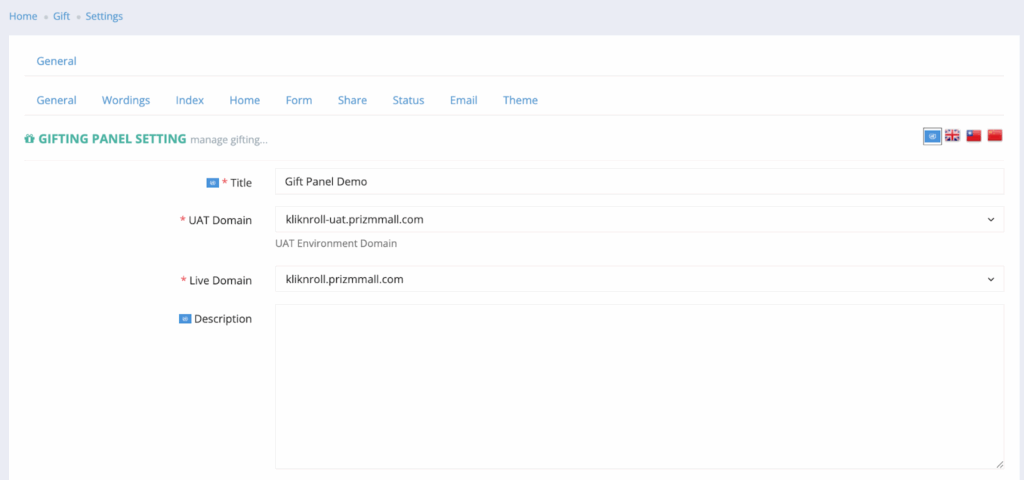
- Gifting Panel: The settings of the Gift Panel, including wording, form, buttons, theme, and more.
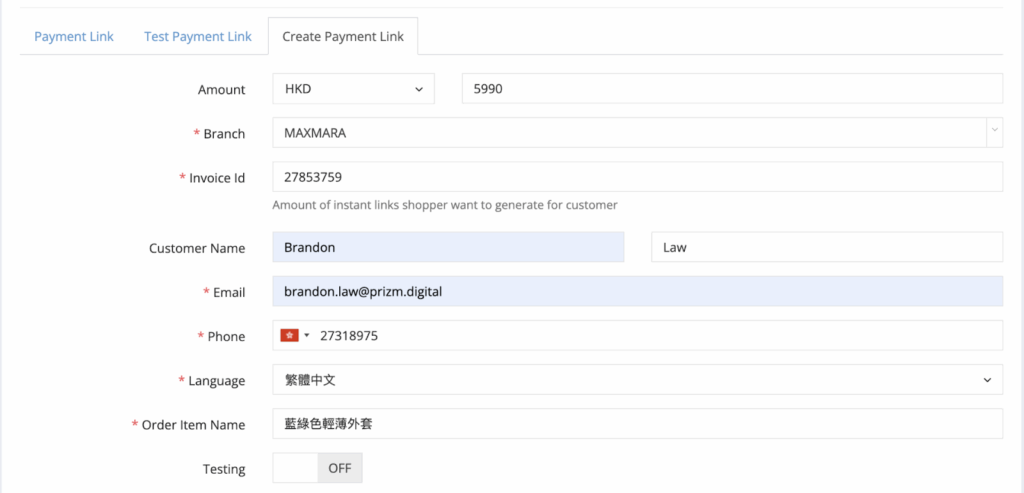
- Payment Link: The settings of payment links, including payment item, amount, branch, invoice, and more.
Step 5: Click on the “Save” button to save your user group’s settings.

Step 6: After creating the User Group, navigate to the Settings menu and click on “Users”.

Step 7: Click on the “+New User” button located at the top right corner to create a new user.

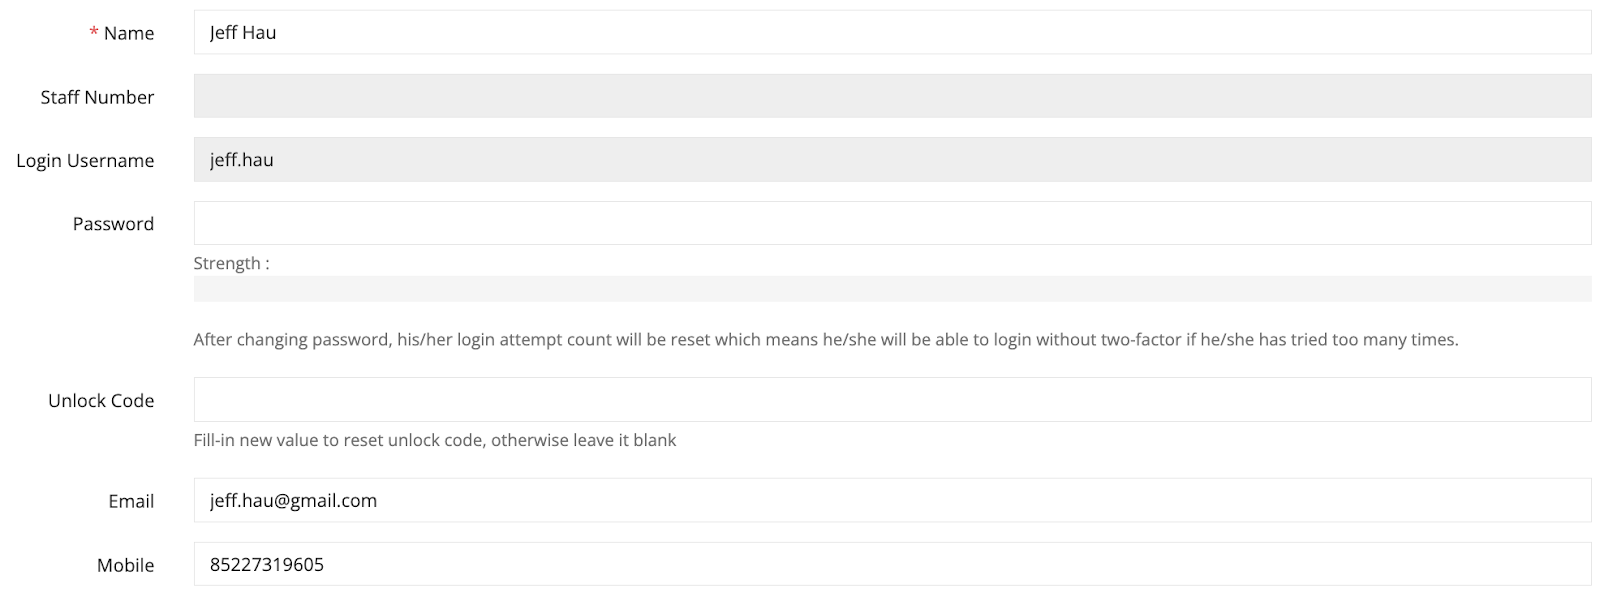
Step 8: Fill in the details of the user.
Required Fields:
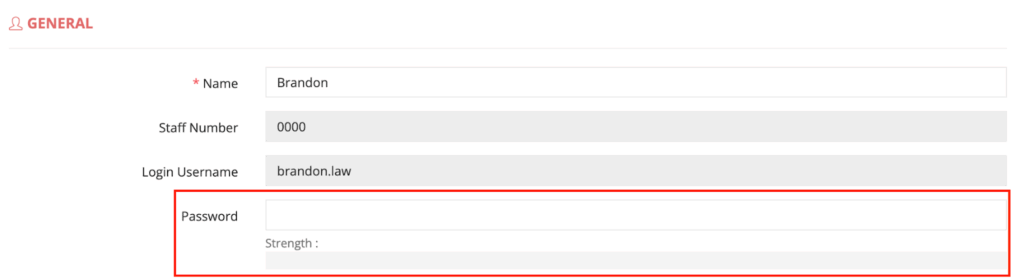
- Name: Insert the name of the user/staff.
- Staff Number: Insert the staff number for reference purposes.
- Login Username: Insert the unique identifier used to access the account
- Password: Insert the confidential code that grants authorised access.
Optional Fields:
- Unlock Code: Insert the code to unlock the user. It can be any phrases or numbers. Leave it blank if not applicable
- Email: Insert the email of the user/staff.
- Mobile: Insert the contact number of the user/staff.
Step 9: Toggle the status to “ON” to activate the user.
Step 10: Grant permission to the user and select the user group.
- All Branches: Users will be granted permissions for all existing branches and any branches created in the future. Please select the appropriate user group.
- Specific Branches: Users will only be granted permissions for specific branches that have been created. For each branch, please select the corresponding user group.

Step 11: Click on the “Save” button to save your user group’s settings.