Customers have the option to activate the gift panel, allowing them to send their purchased products to friends or family.
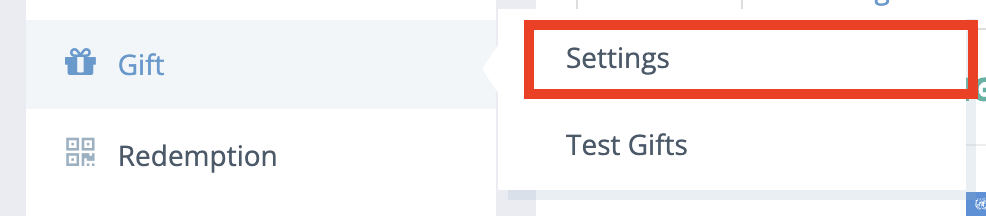
Step 1: Navigate to “Gift” on the left sidebar and then click on “Settings.”
Step 2: Set up the general information of your gift panel.
- Title: Insert the title of the gifting panel.
- UAT Domain: The UAT Domain is a dedicated testing environment where end-users validate the functionality and performance of a system before it is deployed for actual use.
- Live Domain: The Live Domain refers to the actual production environment or the live system where the software or application is deployed and accessible to end-users for real-world use.
- Language: Choose the desired language from the available options: Traditional Chinese,English, and Simplified Chinese.
- Login Method: Select the login method for your gift panel.

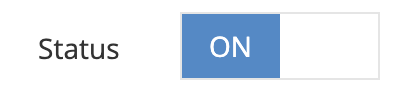
Step 3: Toggle the status to “ON” in your general settings to activate the gift panel.
Step 4: Click on the “Save” button to save your gift panel’s settings.

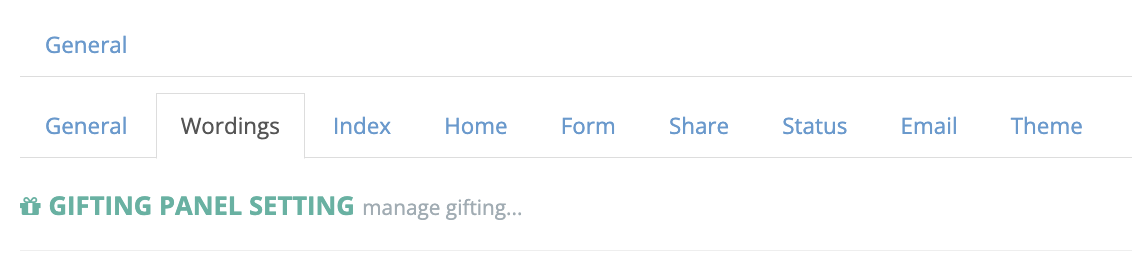
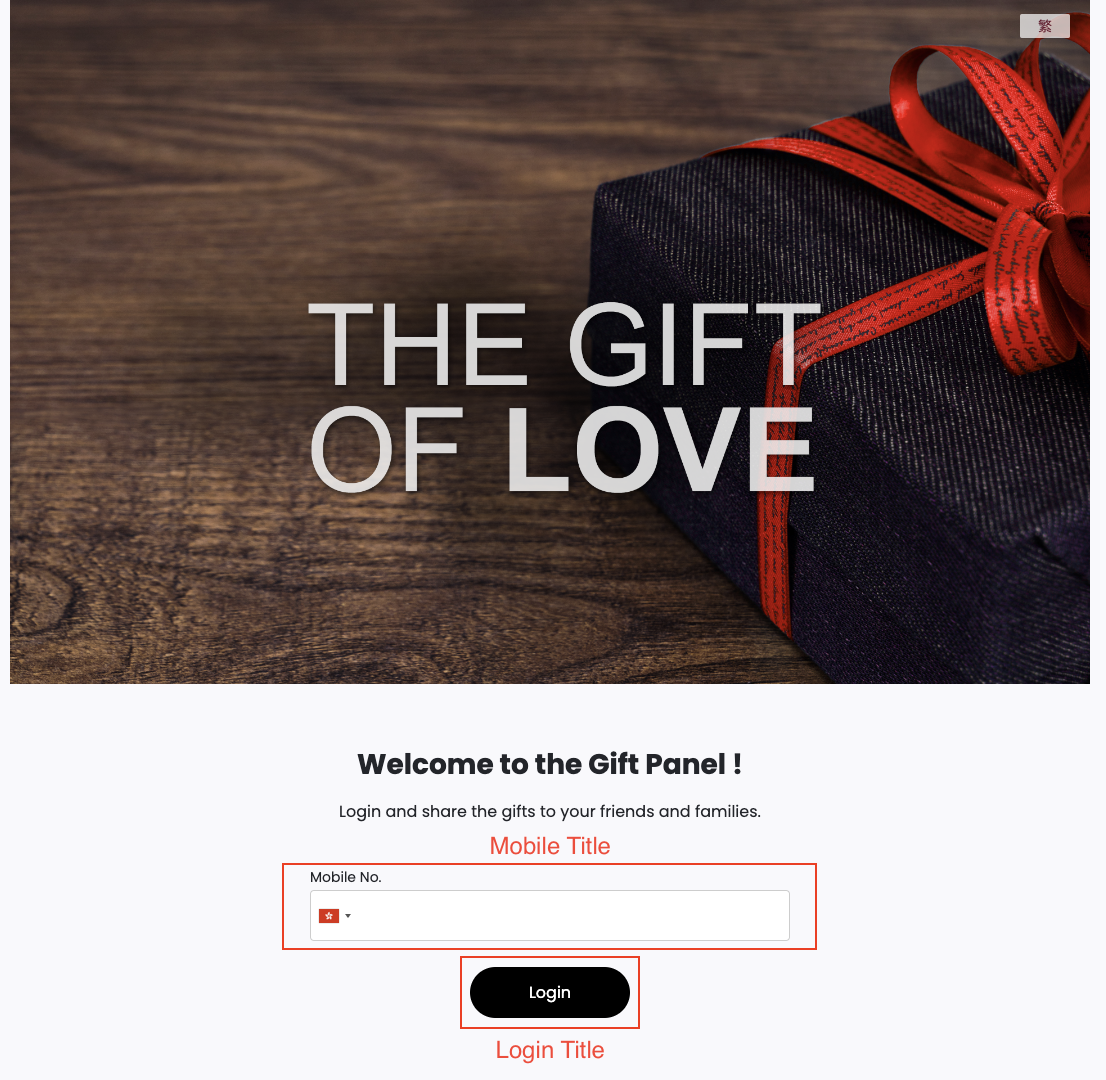
Step 5: Navigate to the “Wording” section in the top bar and input the desired text for the gifting panel.
- Login Title
- Mobile Title
- Home Title
- Send Gift Title
- Logout Title
- Next Btn Title
- Quota Title
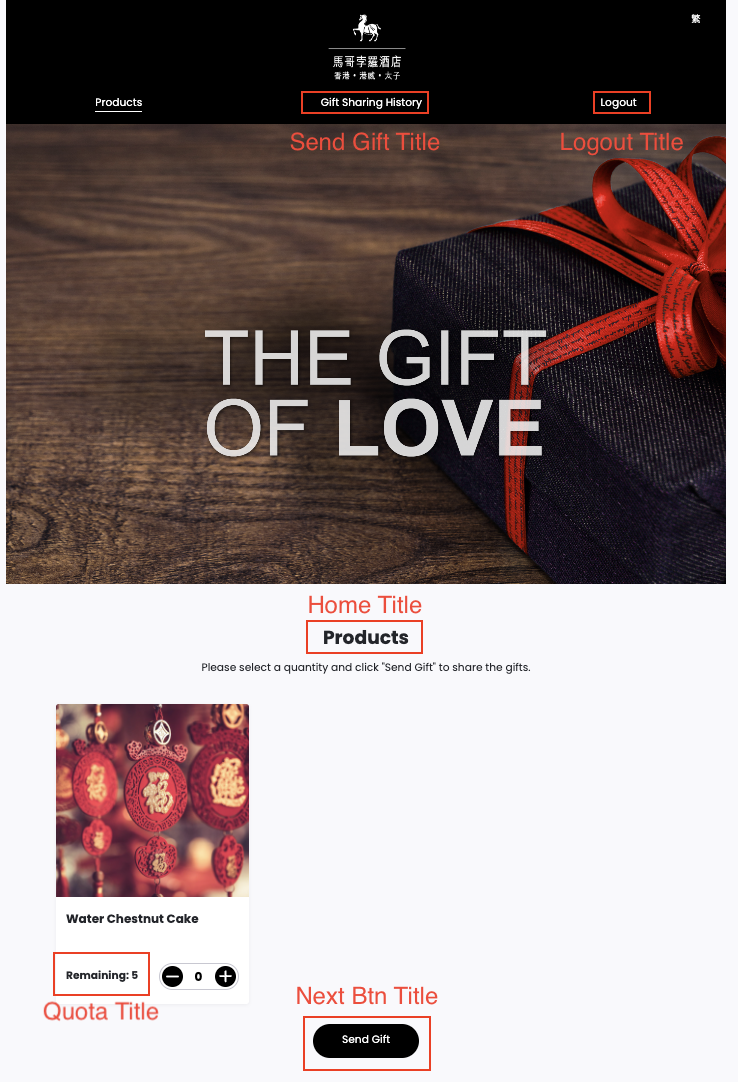
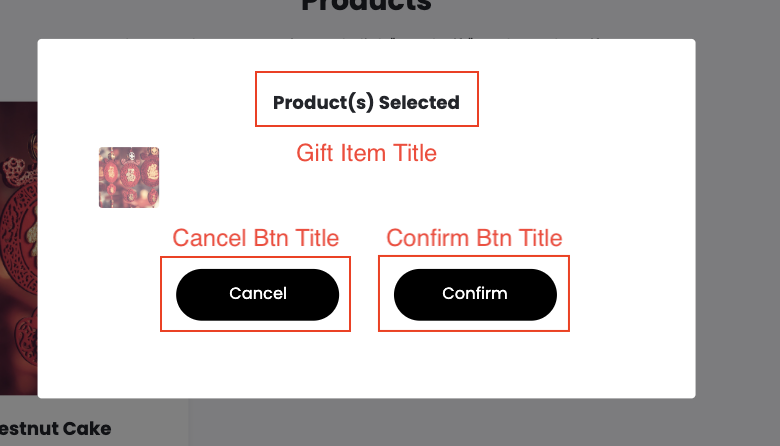
- Gift Item Title
- Confirm Btn Title
- Cancel Btn Title
- Back Btn Title
- Send Btn Title

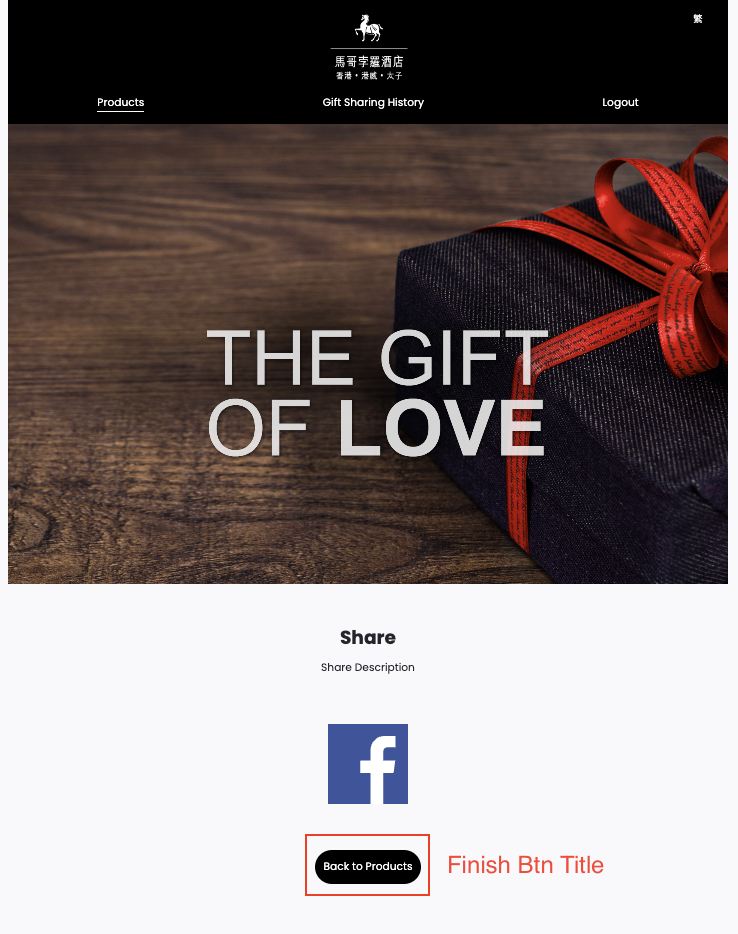
- Finish Btn Title
Step 6: Click on the “Save” button to save your wording’s settings.
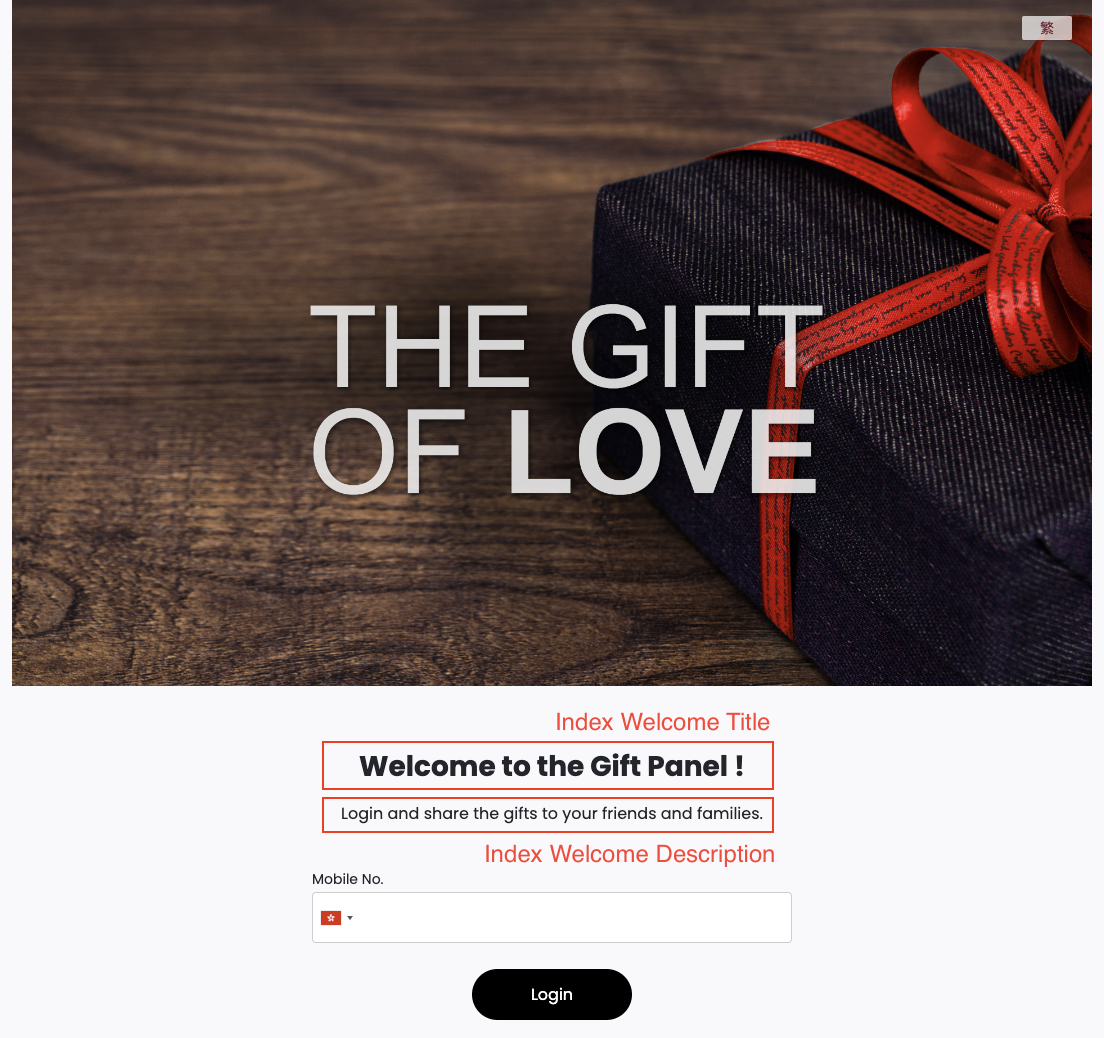
Step 7: Access the “Index” section in the top bar and input the appropriate text for your gifting index panel.

- Index Welcome Title
- Index Welcome Description
Step 8: Click on the “Save” button to save your index’ settings.
Step 9: Access the “Home” section in the top bar and add text to customize the wording for the homepage of your gifting panel.

- Home Title
- Home Description

Step 10: Click on the “Save” button to save your home’s settings.
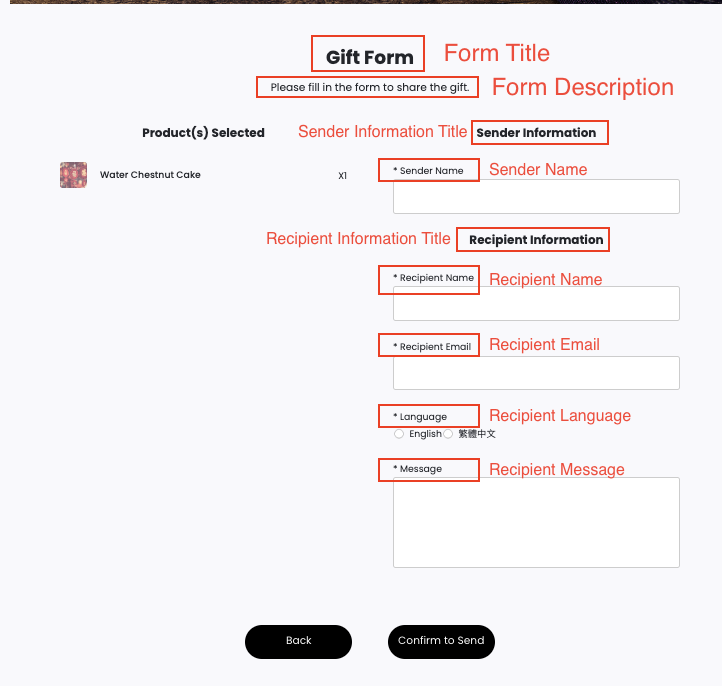
Step 11: Navigate to the “Form” section in the top bar and input the desired text for your gifting form.

- Form Title
- Form Description
- Sender Information Title
- Recipient Information Title
- Sender Name
- Recipient Name
- Recipient Email
- Recipient Language
- Recipient Message
Step 12: Click on the “Save” button to save your form’s settings.
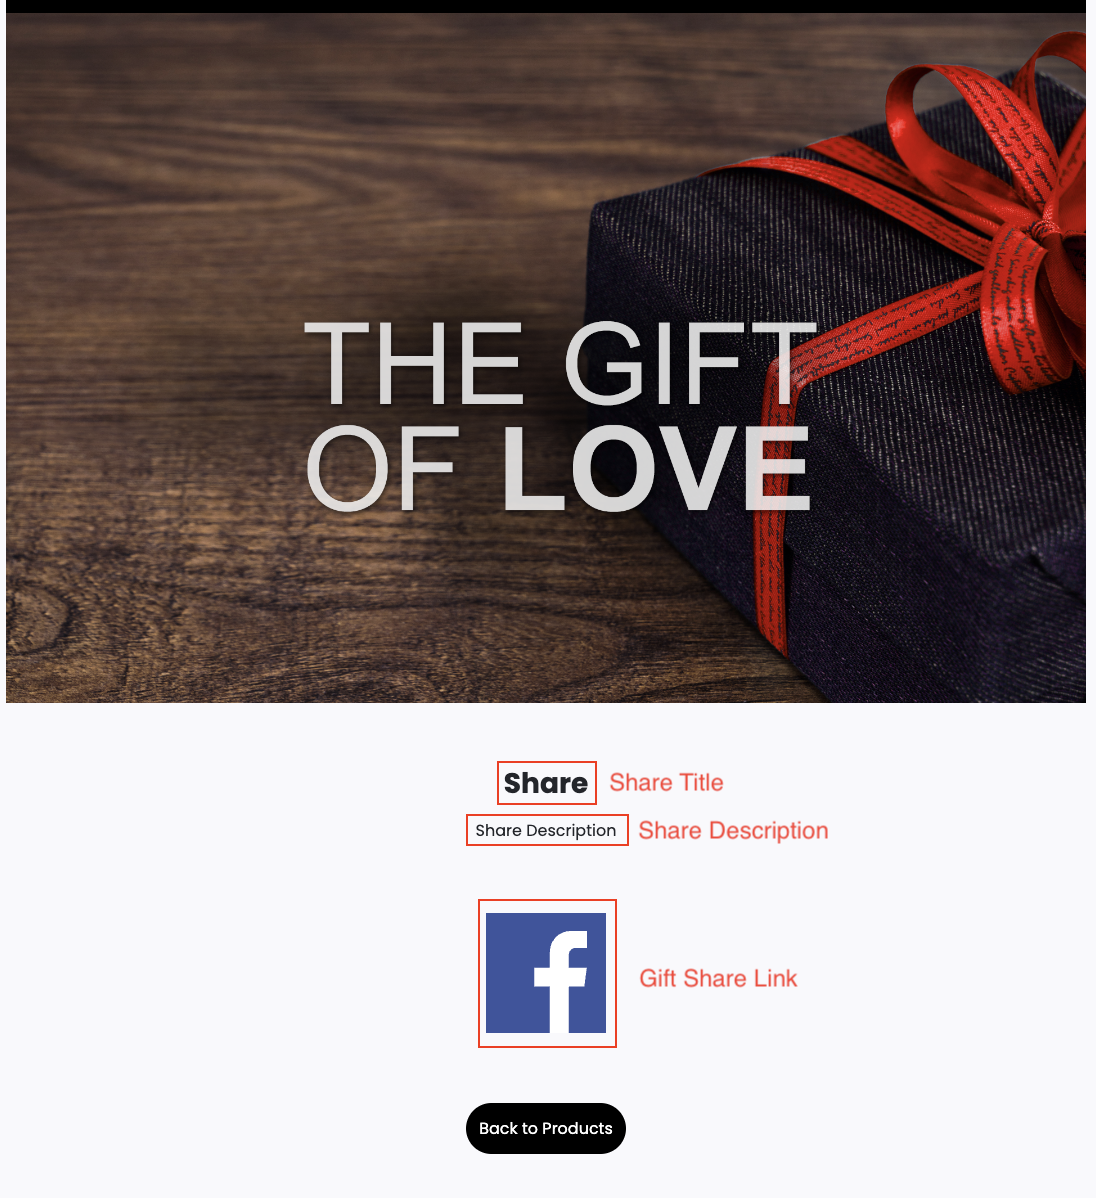
Step 13: Access the “Share” section on the top bar and add text to customize the wording that appears after sharing your gifts.

- Share
- Share Descriptions
- Gift Share Link
Step 14: Click on the “Save” button to save your share’s settings.
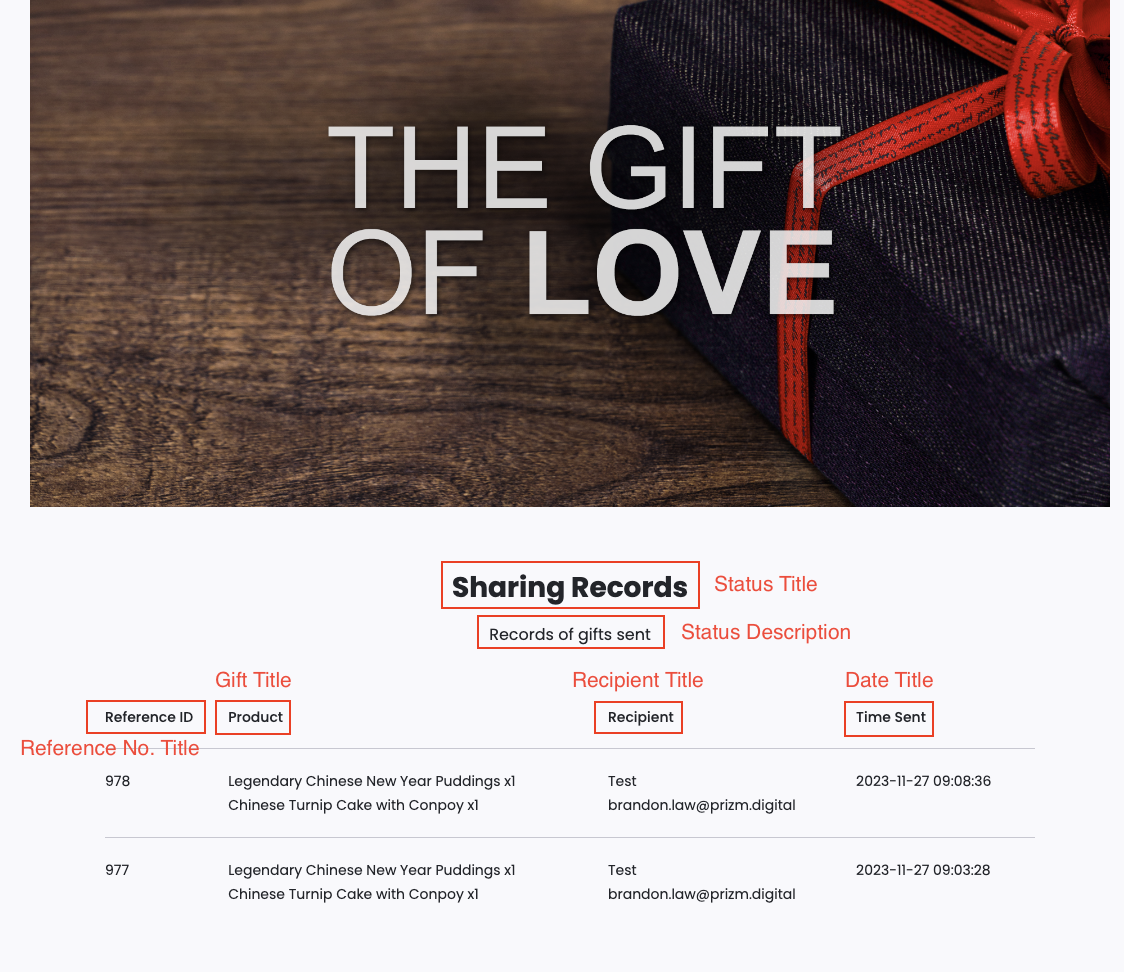
Step 15: Access the “Status” section in the top bar and input text to customize the wording for your sharing history.

- Status Title
- Status Description
- Reference No. Title
- Gift Title
- Recipient Title
- Date Title
Step 16: Click on the “Save” button to save your sharing history’s settings.
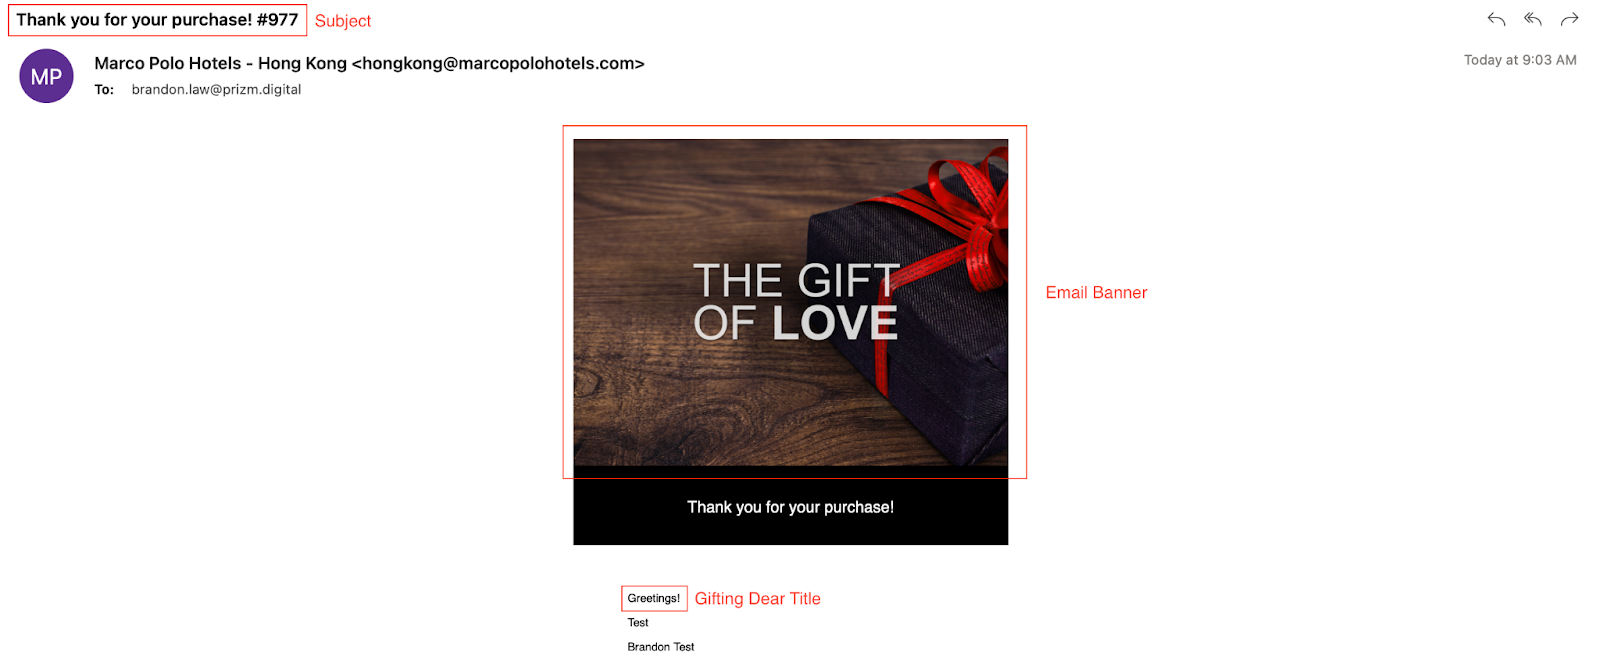
Step 17: Navigate to the “Email” section on the top bar and customize the wording and image for gifting emails.

- Email Banner
- Subject
- Gifting Dear Title
- Terms and Condition
- Gifting Code Title
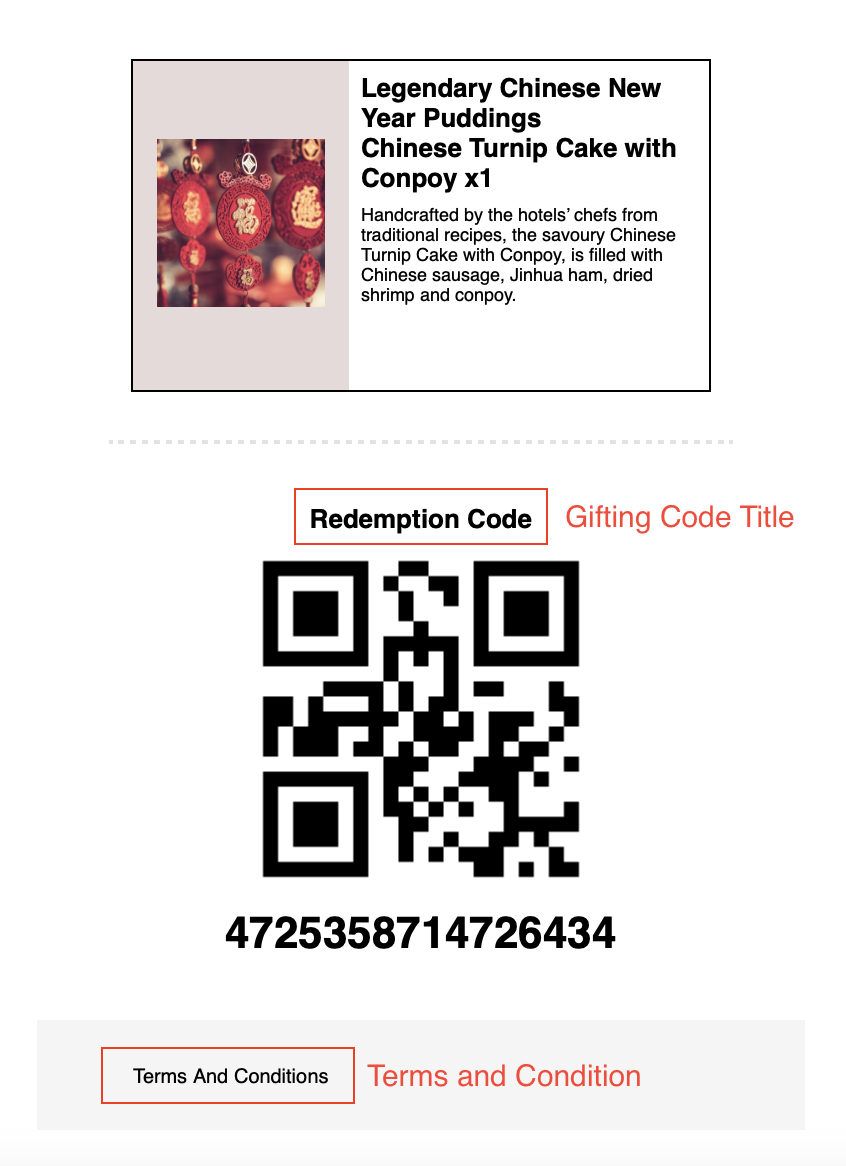
Step 18: Click on the “Save” button to save your email’s settings.
Step 19: Access the “Theme” section in the top bar and customize the theme for your gift panel.

- Logo
- Desktop Header Image
- Main Background Colour
- Button Background Colour
- Main Font Colour
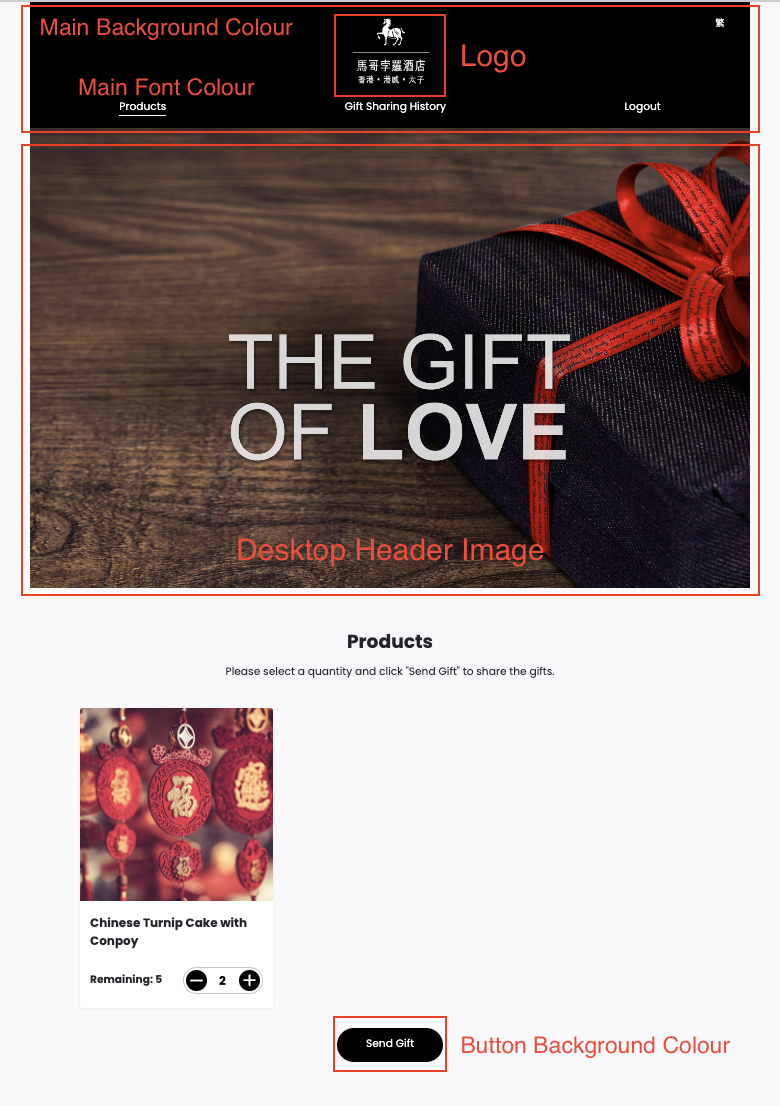
Step 20: Click on the “Save” button to save your theme’s settings.
Step 21: Create a campaign HERE and switch the gift panel status to “ON” in your general settings to activate the gift panel exclusively for that particular campaign.

Step 22: Click on the “Save” button to save your campaign’s settings.