To begin creating a campaign, we need to set up Branches.
- For display of Shops’ information e.g. name, telephone number, email, address, meal type, opening hours or parking information
- Notification setting, such as the confirmation emails’ sender name, sender emails, and also BCC email
Step 1: Navigate to the Settings menu and select “Branches/Outlets”.

Step 2: Click on the “+Add” button located at the top right corner to create a new branch.

Step 3: Fill in the required or optional information for the branch.
Required Fields:
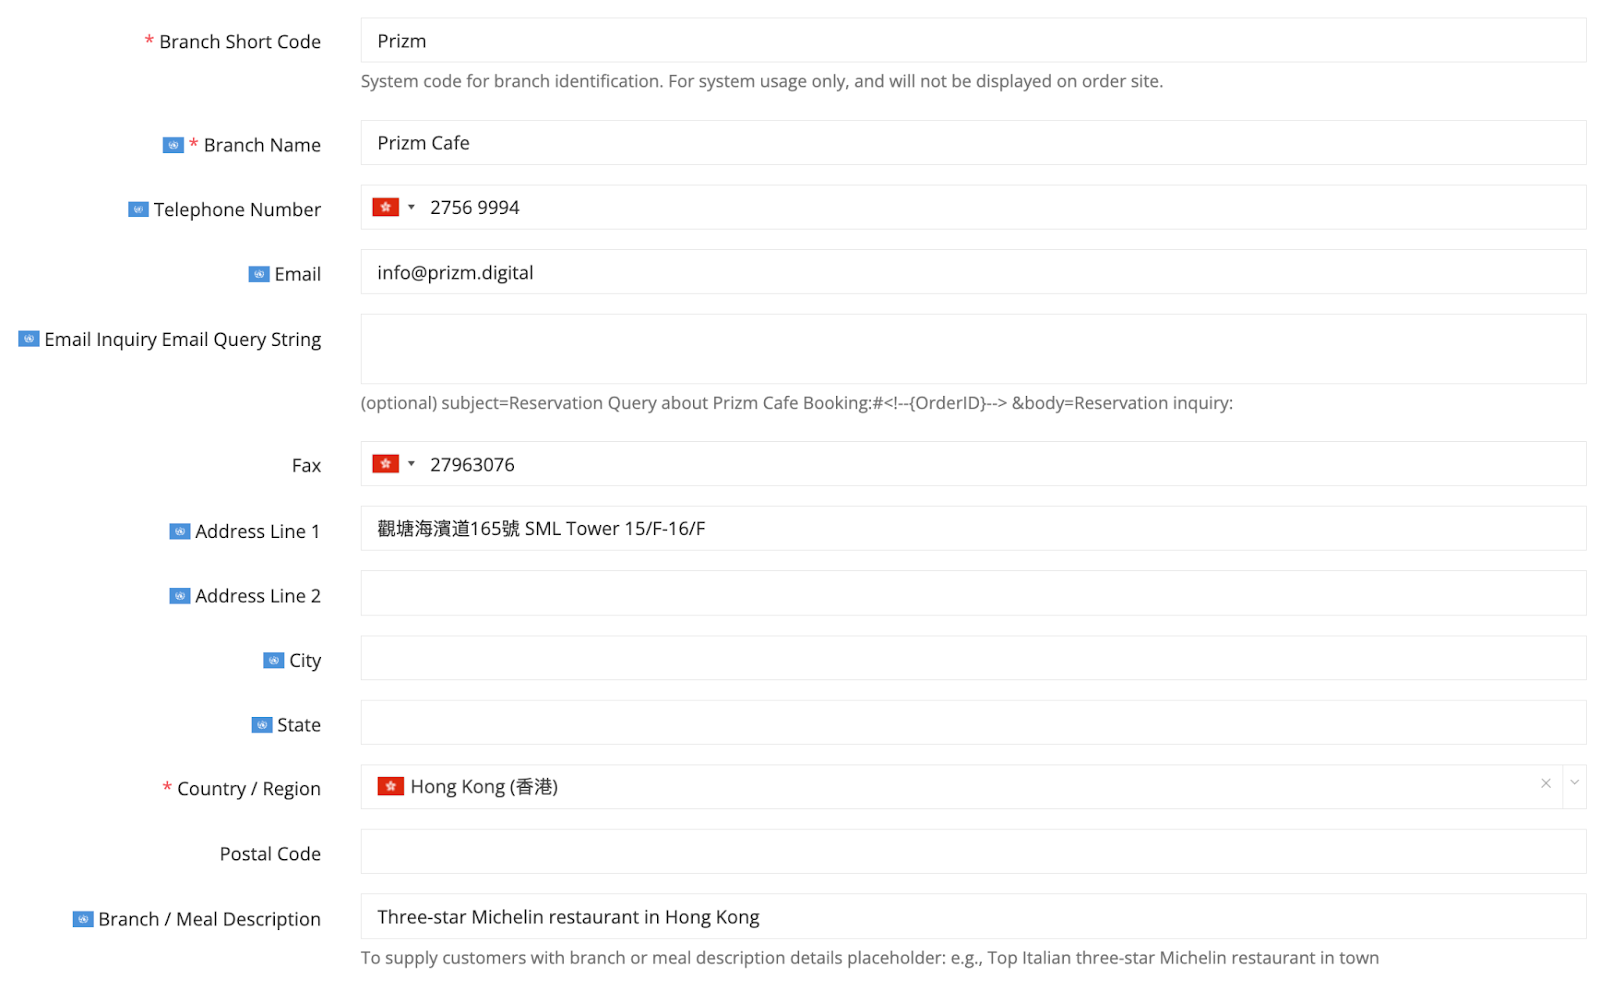
- Branch Short Code: This is a system-generated code used to identify the branch within the system. It is for internal use only and will not be displayed on the order page.
- Branch Name: Enter the name of your branch.
- Country/Region: Specify the country or region where your branch is located.
- Display Order: Determine the order in which this branch will appear in the backend system.
Optional but Informative Fields:
- Email: Provide the contact email address for your branch.
- Address: Enter the physical location of your branch.
- Branch/Meal Description: Add any additional information or description about your branch or the meals offered.
- Opening Time: Specify the operating hours for your branch.
- Parking Information: Specify the parking information if needed.
Step 4: Notifications Setting
- Email Sender Address: Enter the email address that will be used as the sender for Orders Confirmation emails (redemption email with QR code)
- Email Sender Name: Enter the name that will be displayed as the sender for Order Confirmation emails.
- Logo: Upload the representative image or logo of your branch.
- Email BCC Address: Order confirmation Email list (BCC) Order confirmation emails will be sent to the addresses listed here. Please separate address with comma with no empty space.
Please note that the “Required Fields” are necessary for completing the form, while the “Optional but Informative Fields” provide additional details that can enhance the branch’s profile.

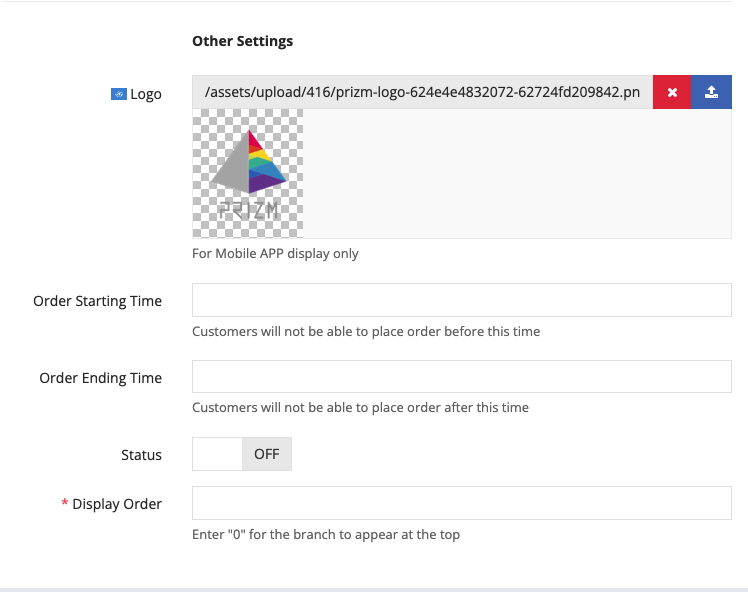
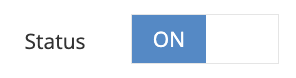
Step 4: Toggle the status to “ON” to activate the branch.
Step 5: Proceed to edit the remaining languages, if applicable.

Step 6: Click on the “Save” button to save your changes.