The discount code setting for Quick Order or ecommerce solution allows users to configure the details of their discount codes.
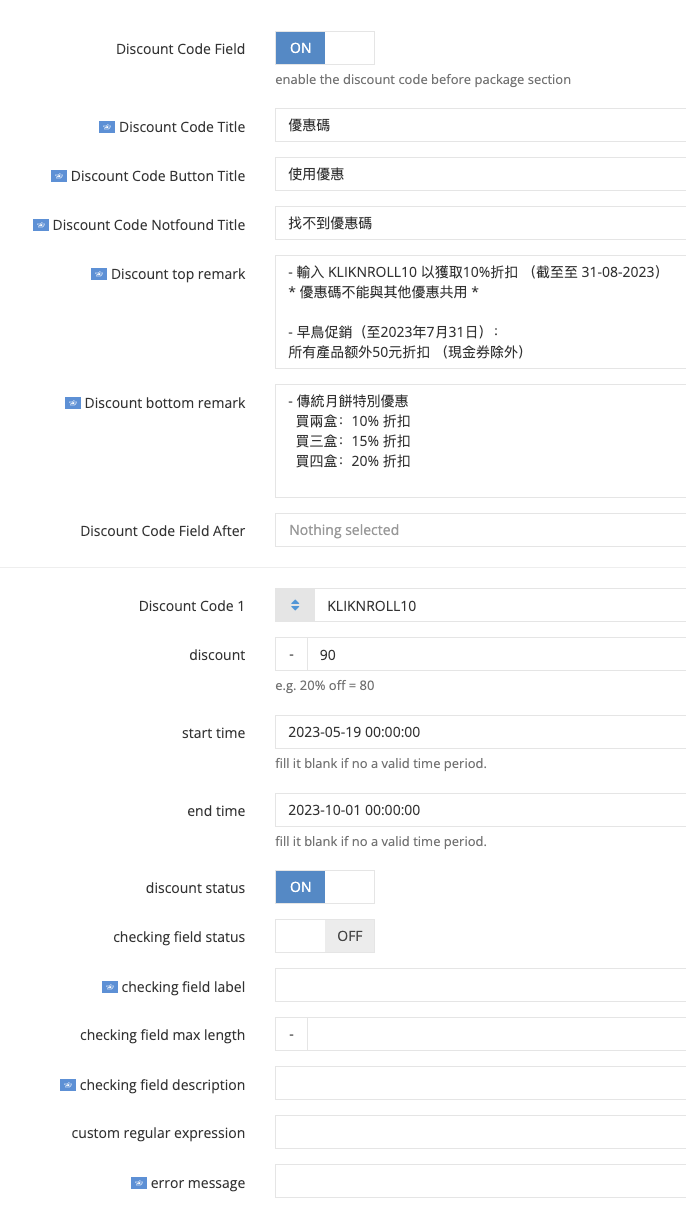
Step 1: Toggle the Discount Code Field to “ON” to activate the discount code function.

Step 2: Insert the discount code information.
- Discount Code Title: Title of the discount code. Sample to be shown HERE.
- Discount Code Button Title: Button text displayed for applying discount code. Sample to be shown HERE
- Discount Code Not Found Button: Text displayed when the discount code applied is not found.
- Discount Top Remark: Text positioned above the discount code section. Sample to be shown HERE.
- Discount Bottom Remark: Text positioned below the discount code button. Sample to be shown HERE.
- Discount Code Field After: The position of the discount field.
Step 3: Set up the discount code.
- Discount Code: The code of the discount.
- Discount: Discount amount of the discount code. Set “80” for 20% off, “70” for 30% off, similarly for other discount amounts.
- Start Time: The start time of the discount code availability. Leave it blank if there is no restriction
- End Time: The end time of the discount code availability. Leave it blank if there is no restriction.
- Discount Status: Toggle the status to “ON” to activate the discount code.
- Checking Field Status: Toggle the status to “ON” to activate the discount code checking field.
- Checking Field Label: The title of the checking field.
- Checking Field Max Length: The maximum input length of the checking field.
- Checking Field Description: The description located under the discount code checking field.
- Set Custom Regular Expression: A custom regular expression, often referred to as a regex or regexp, is a sequence of characters that defines a search pattern. It is a powerful tool used in programming and text processing to find, match, and manipulate strings based on specific patterns.
- Error Message Display: The text that appears when an incorrect discount code is entered.
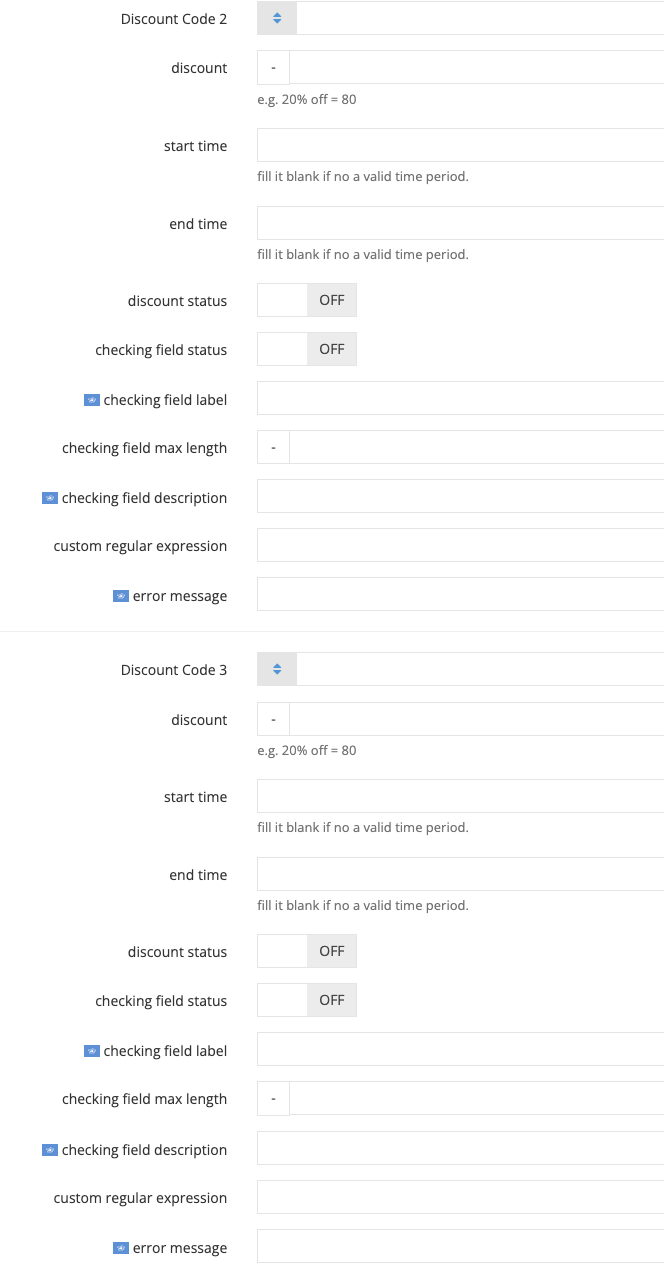
Step 4: If you have multiple discount codes, you can configure them here. You can add up to a maximum of three discounts. If you don’t have any, please proceed to Step 5.
Step 5: Proceed to edit the remaining languages, if applicable.

Step 6: Click on the “Save” button to save your changes.