
The advanced settings for Online Booking System allow users to configure additional campaign settings, including pre- and post-campaign details, as well as social media integration.
Step 1: Set the general advanced settings
Required Fields:
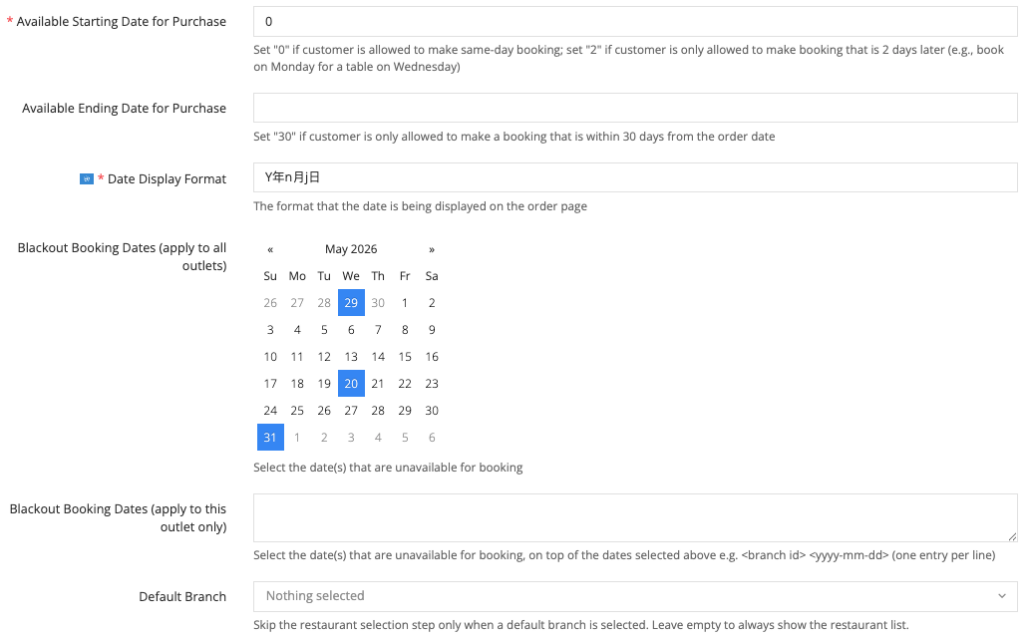
- Available Start Date for Purchase: Set the value to “0” if customers are allowed to make same-day bookings. Set the value to “2” if customers are only allowed to make bookings that are 2 days later (e.g., book on Monday for a table on Wednesday).
- Date Display Format: Specify the format in which the date should be displayed on the order page.
Optional Field:
- Available Ending Date for Purchase: Set the value to “30” if customers are only allowed to make bookings within 30 days from the order date.
- Blackout Booking Dates (apply to all outlets): Select the date(s) that are unavailable for booking across all outlets.
- Blackout Booking Dates (apply to this outlet only): Select the date(s) that are unavailable for booking for this specific outlet, in addition to the dates selected for all outlets. e.g. <branch id> <yyyy-mm-dd> (one entry per line)
- Default Branch: Skip the restaurant selection step only when a default branch is selected.
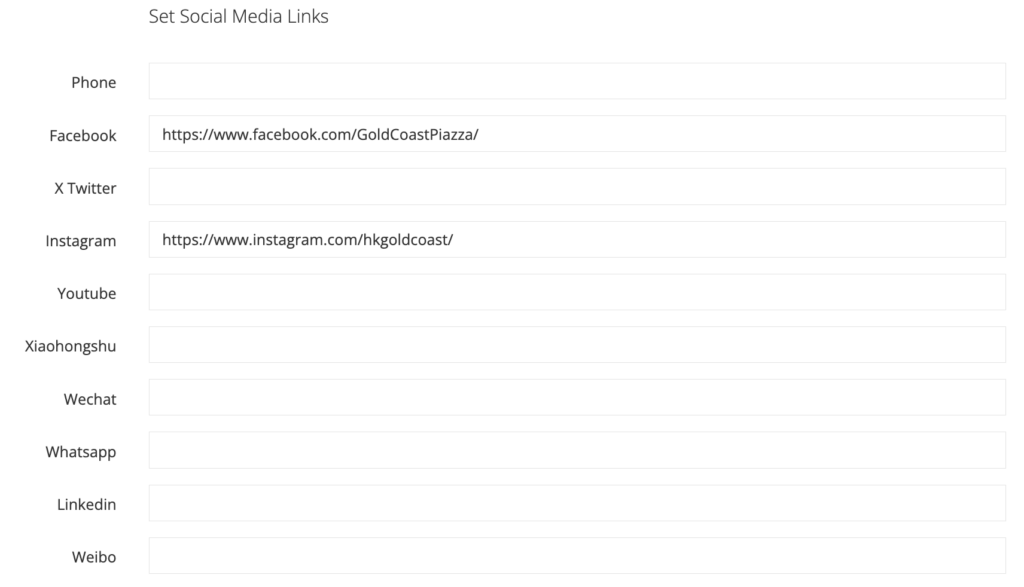
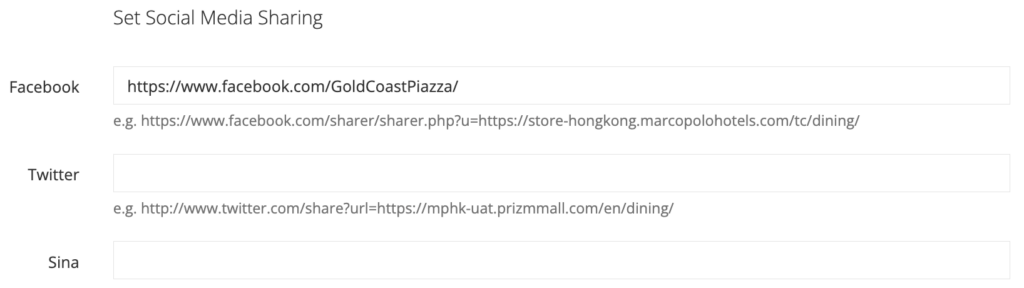
Step 2: Set the social media links and social media sharing for your campaign.
Step 3: Set up Pre- and Post-Campaign Details.
Optional Field:
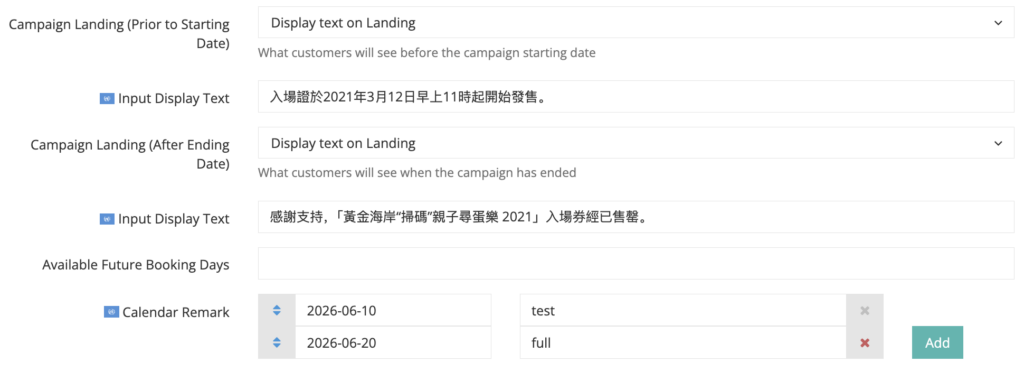
- Campaign Landing (Prior to Starting Date): Instructions or actions to be taken before the campaign begins.
- Input Display Text: Text visible to customers prior to or after the campaign starting date.
- Campaign Landing (After Ending Date)): Instructions or actions to be taken after the campaign concludes.
- Input Display Text: Text visible to customers prior to or after the campaign ending date.
- Available Future Booking Days: The maximum number of days in advance that customers can make a reservation.
- Calendar Remark: A special instruction added to a specific date in the calendar.
Step 4: Click on the “Save” button to save your advanced settings.
